I had a long run with my first 3D printer 3D PRINTER : A LONG SERIE OF TRANSFORMATIONS but it was time to upgrade it.

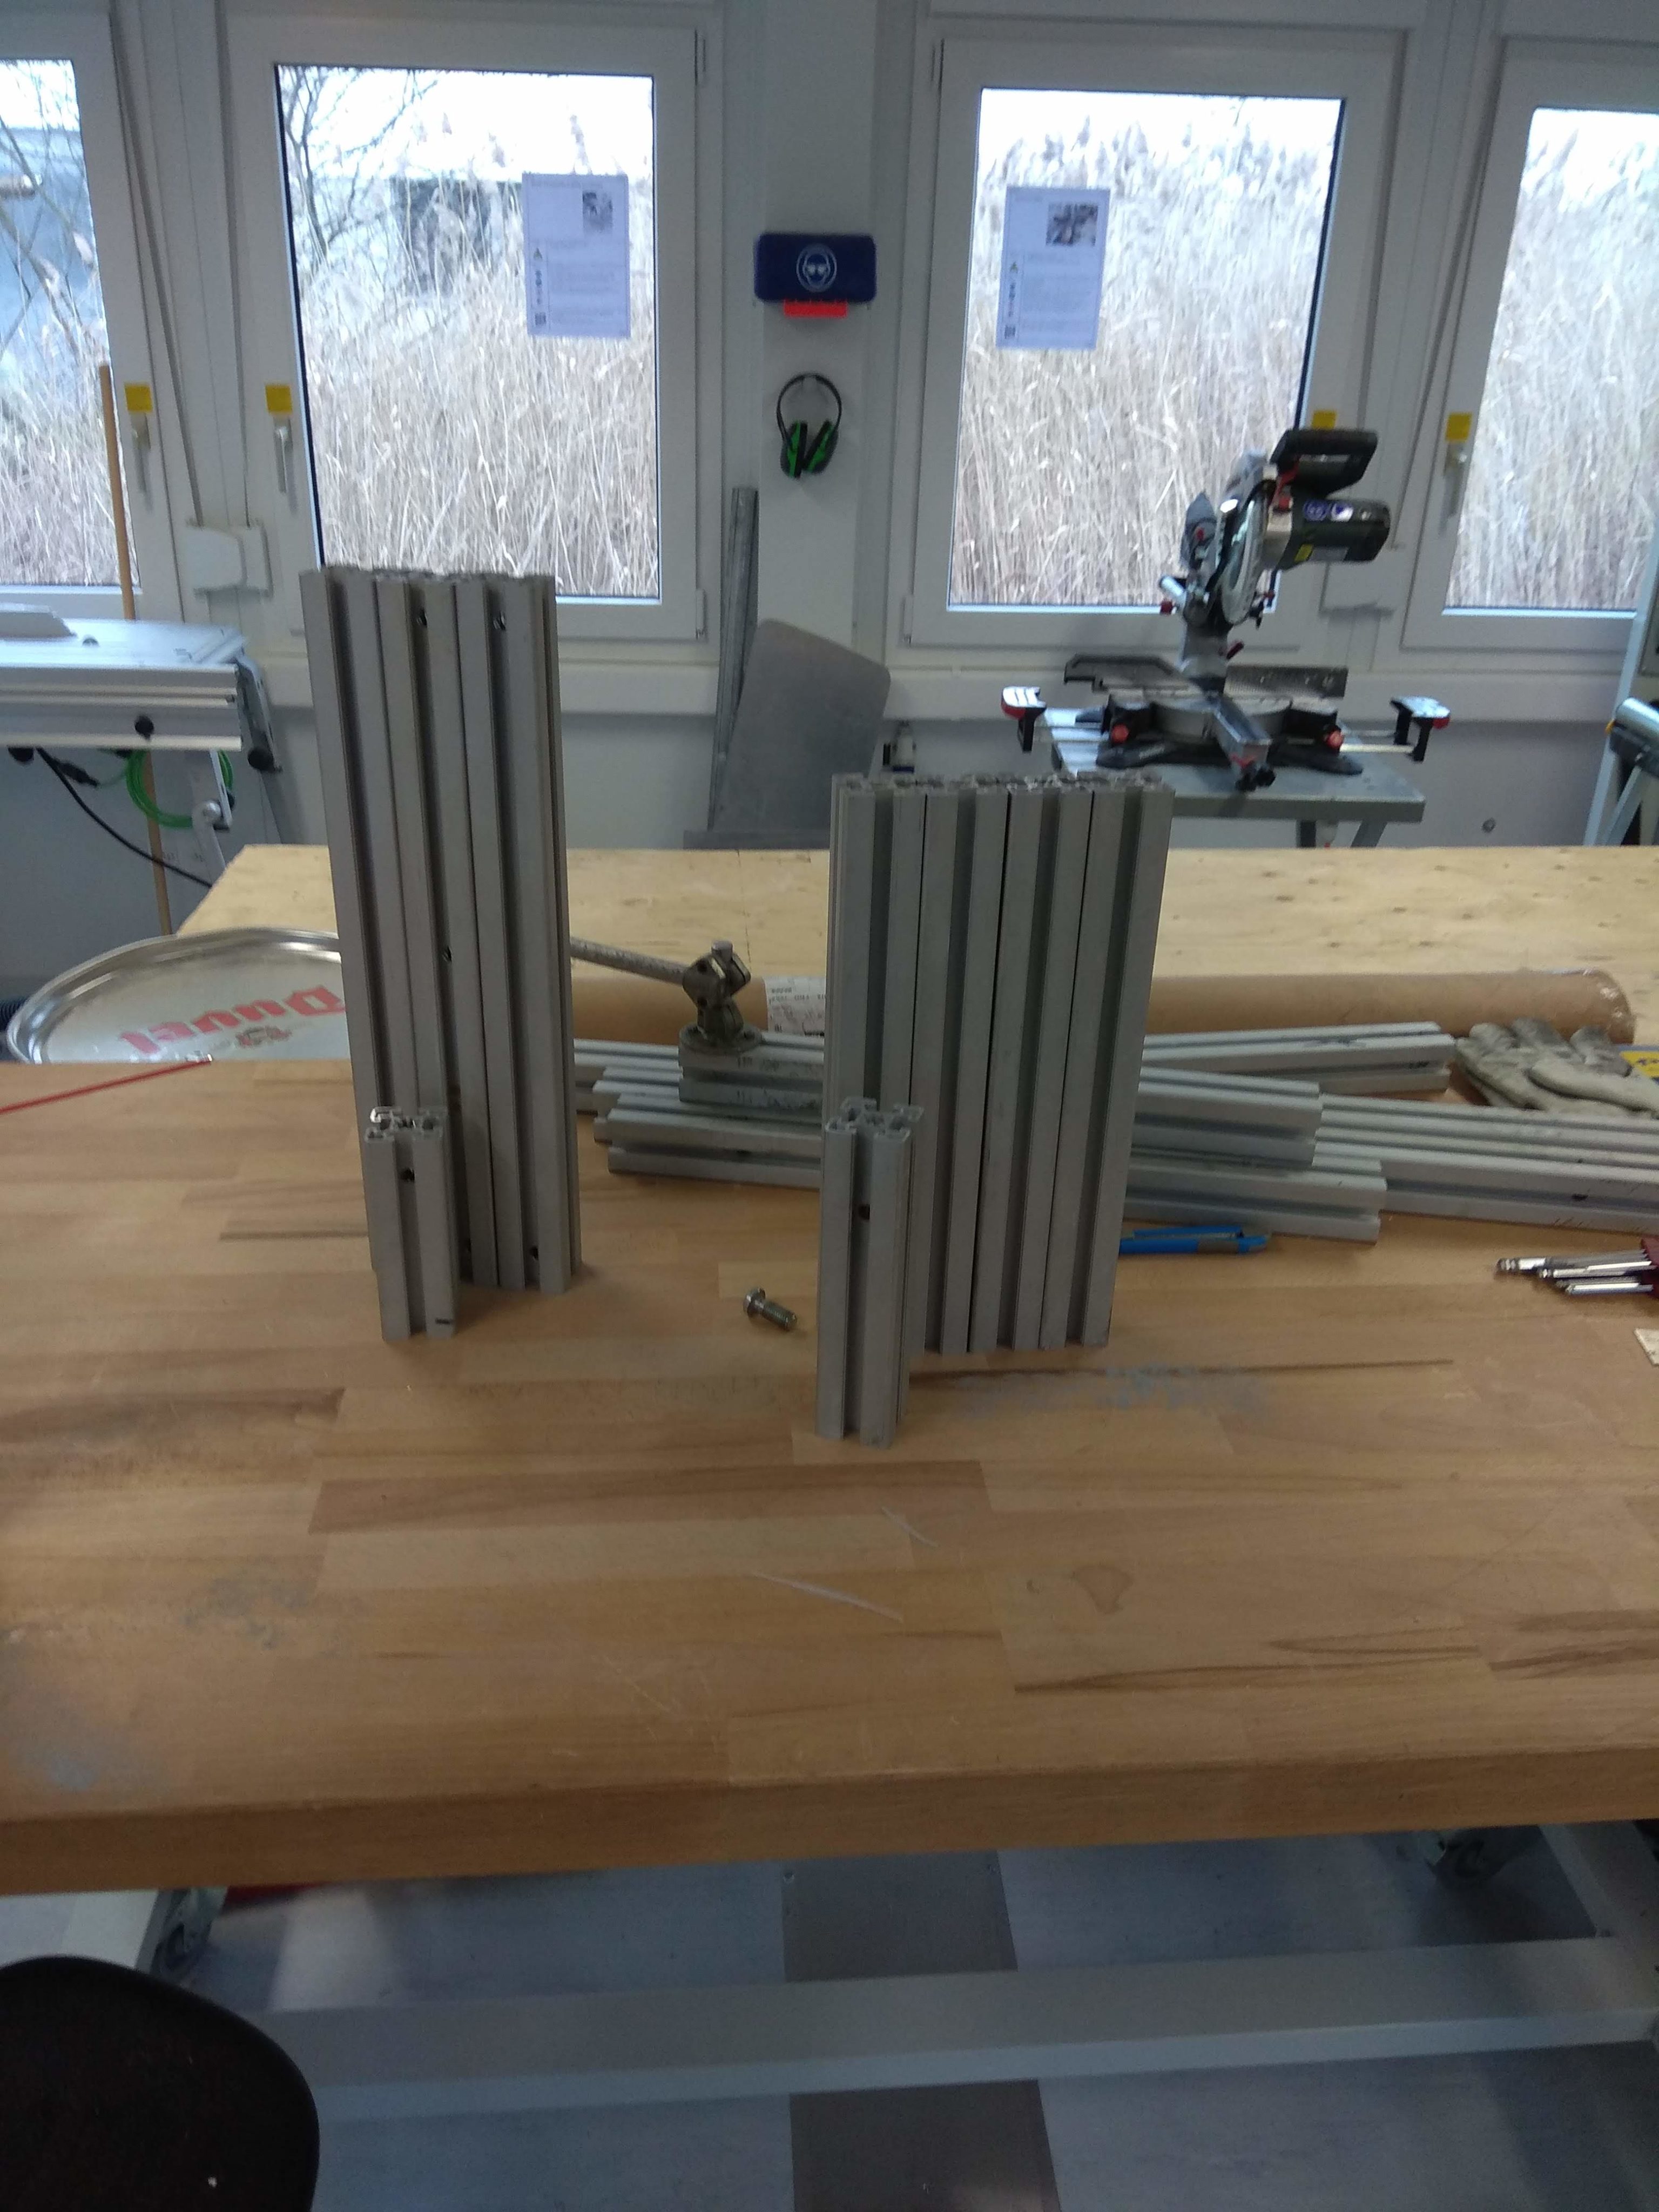
There was not much left to do with that old shaky frame, thus I decided to go for a full metal frame. So, I collected few aluminium profiles 4545 from the old chemistry machine we unmounted few years ago with the club Galileo
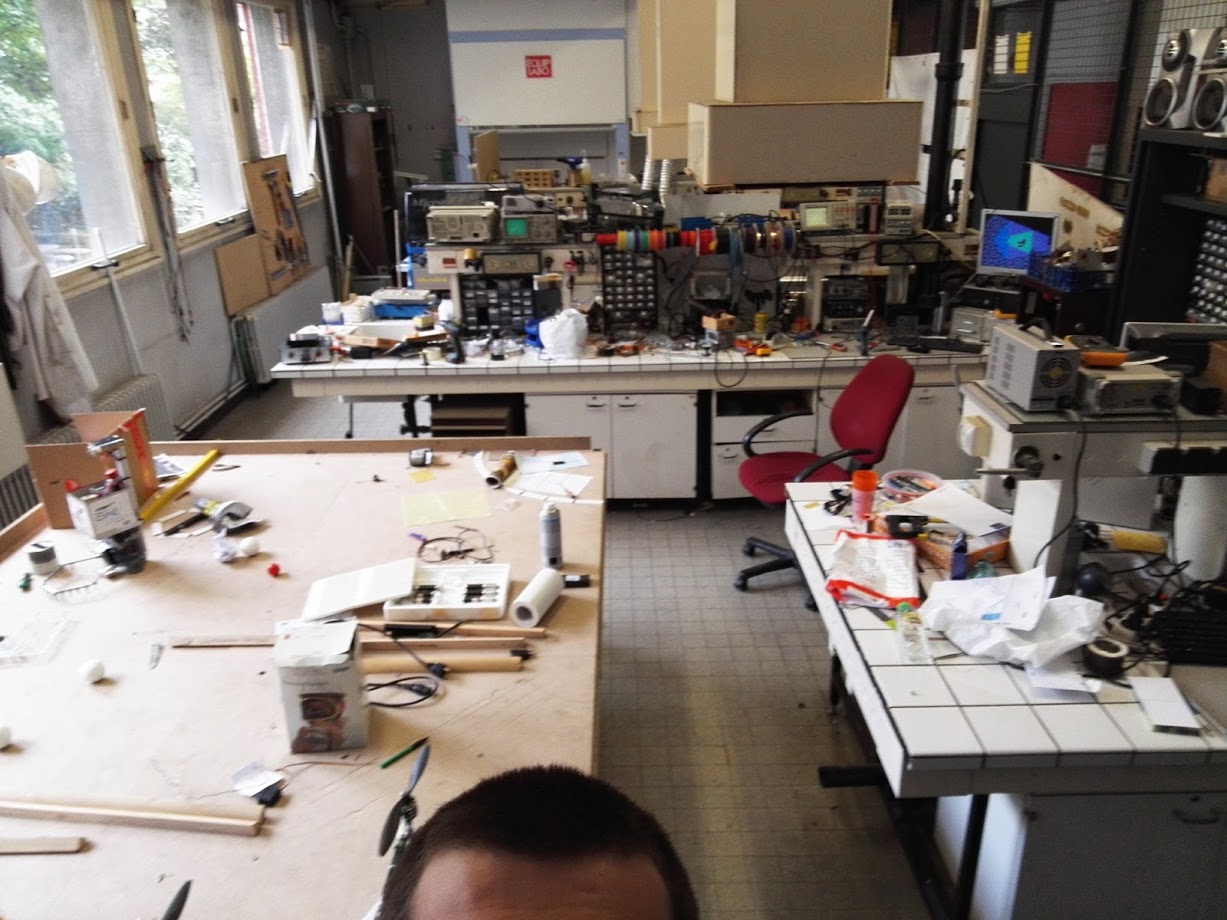
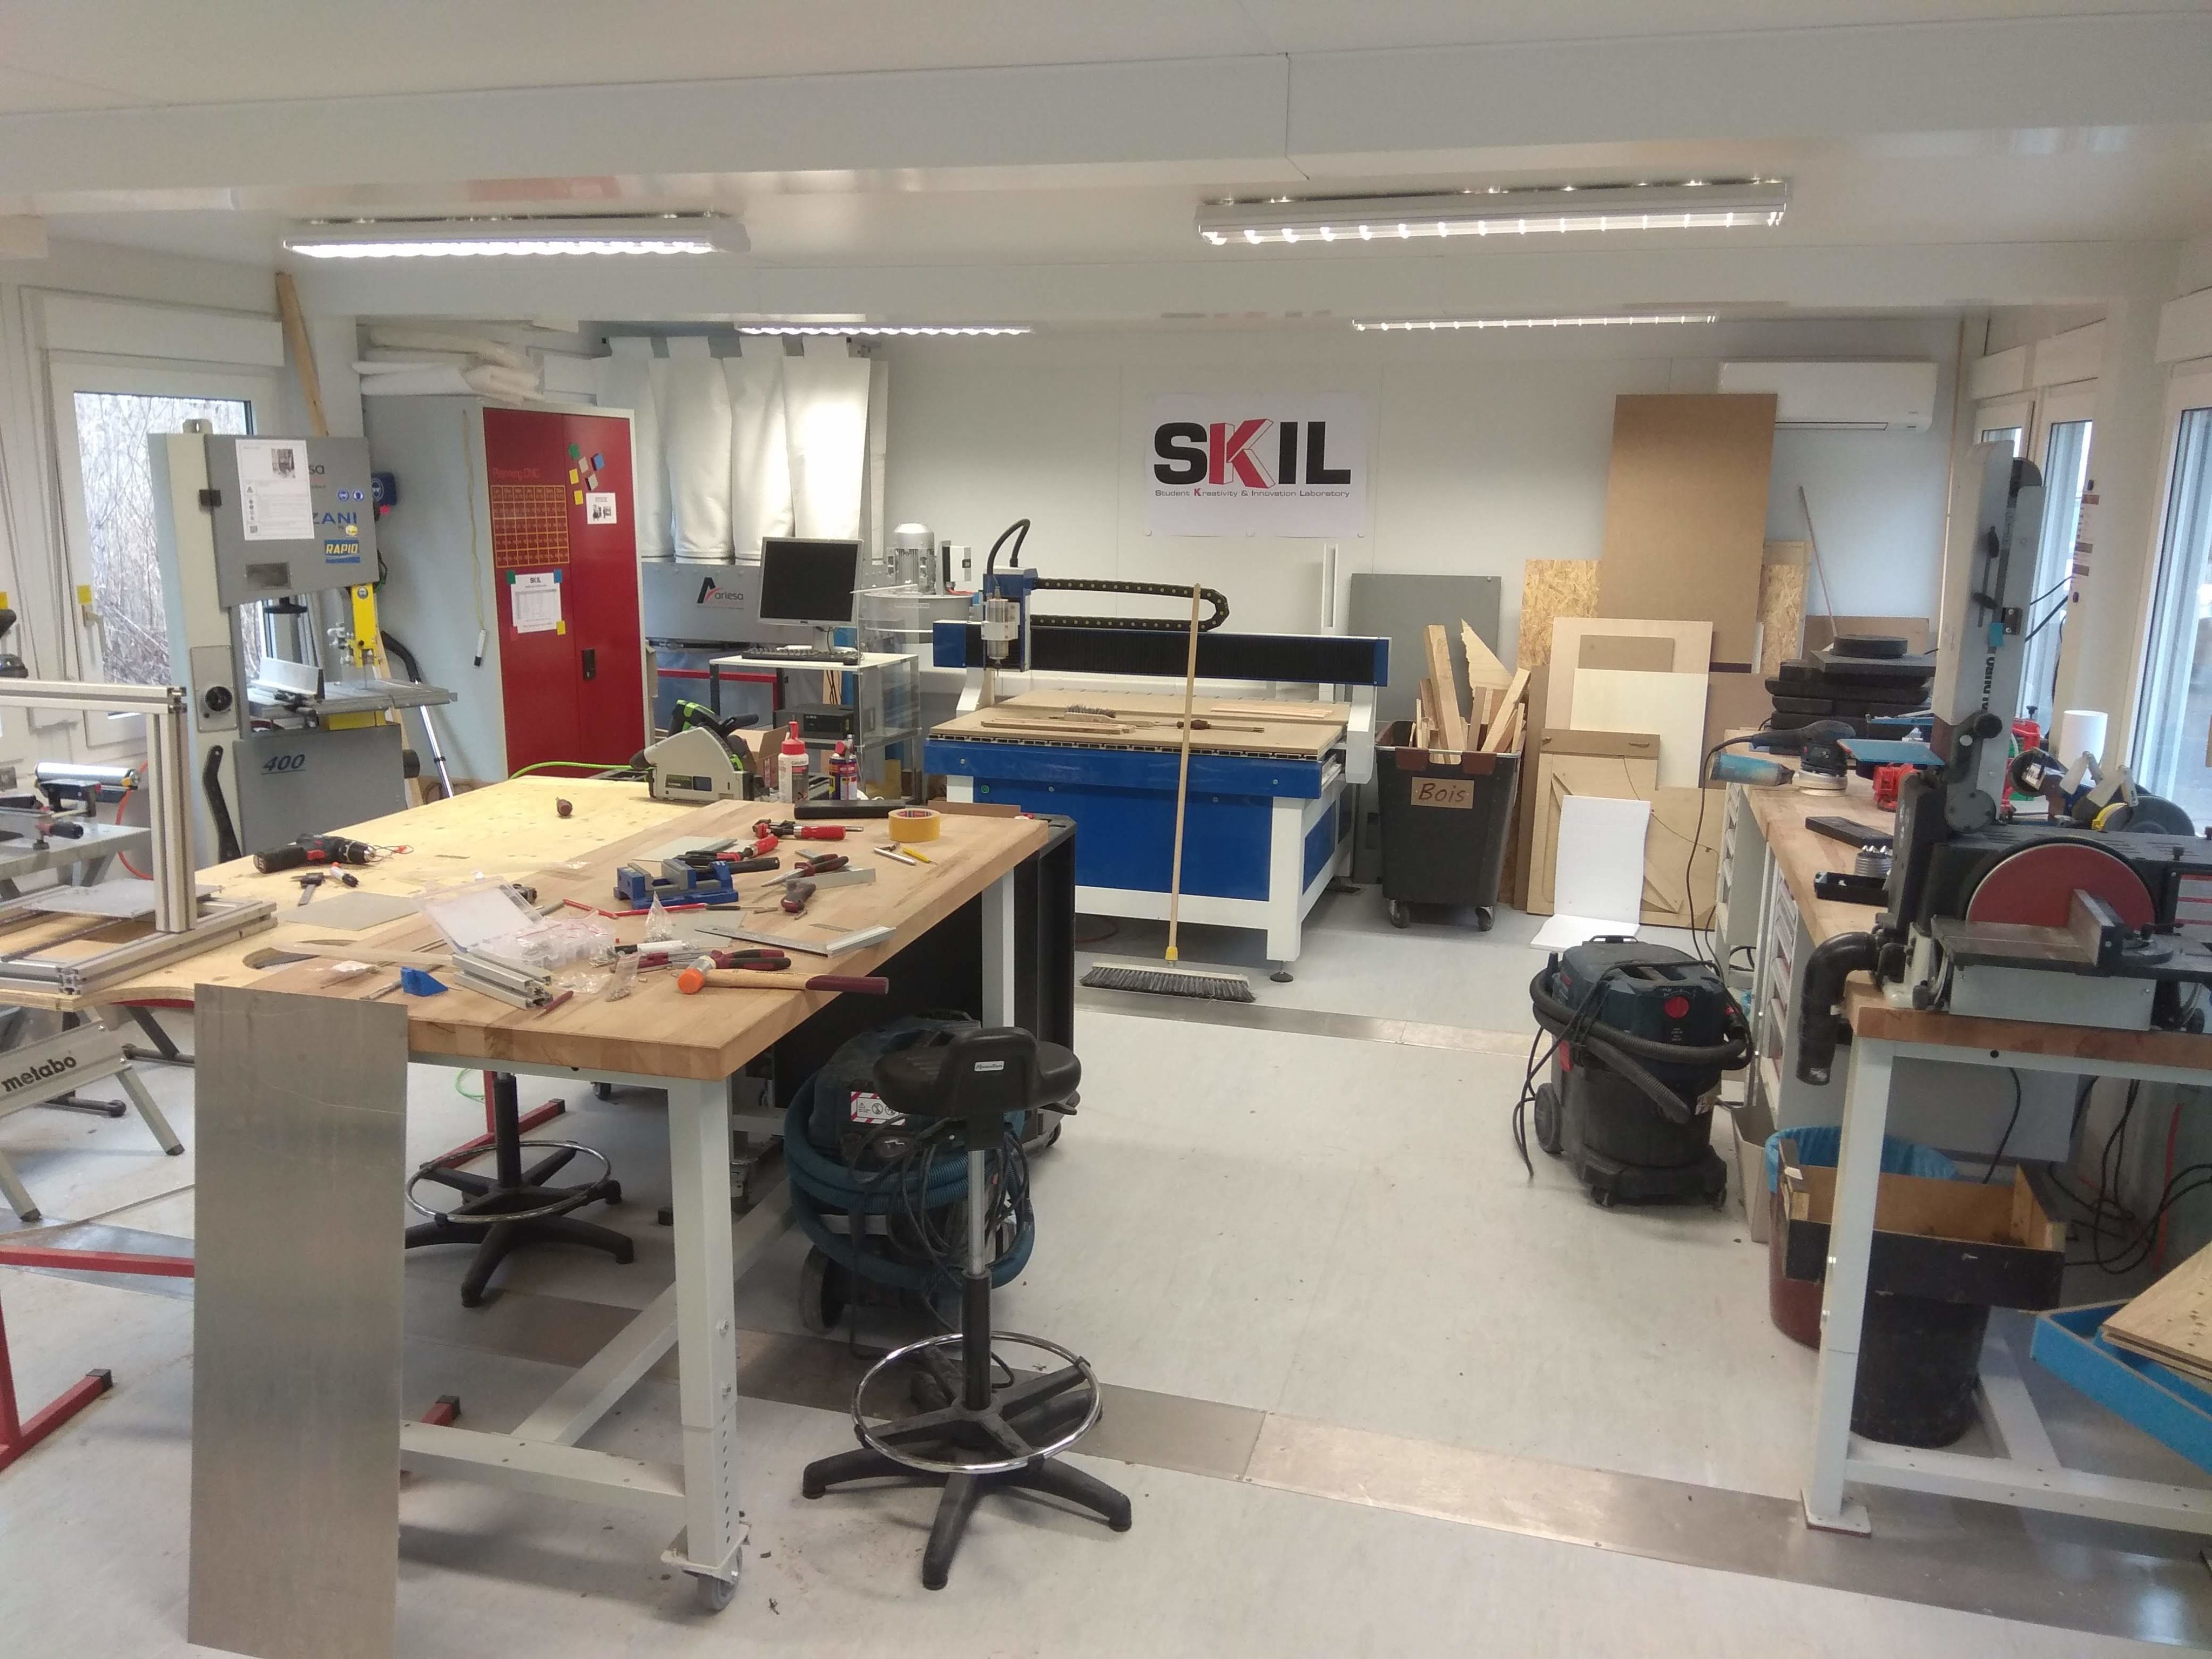
Based on Lausanne for my last semesters at EPFL I had no power tools to work with. Luckily EPFL just opened their brand new fablab, free to access and well equipped. So I signed for it, and few weeks later I started to work on it.
I decided to go for a cube shape of 45cm length for easy transportation (The most important point in a transportable machine is to be able to go through a standard door frame).
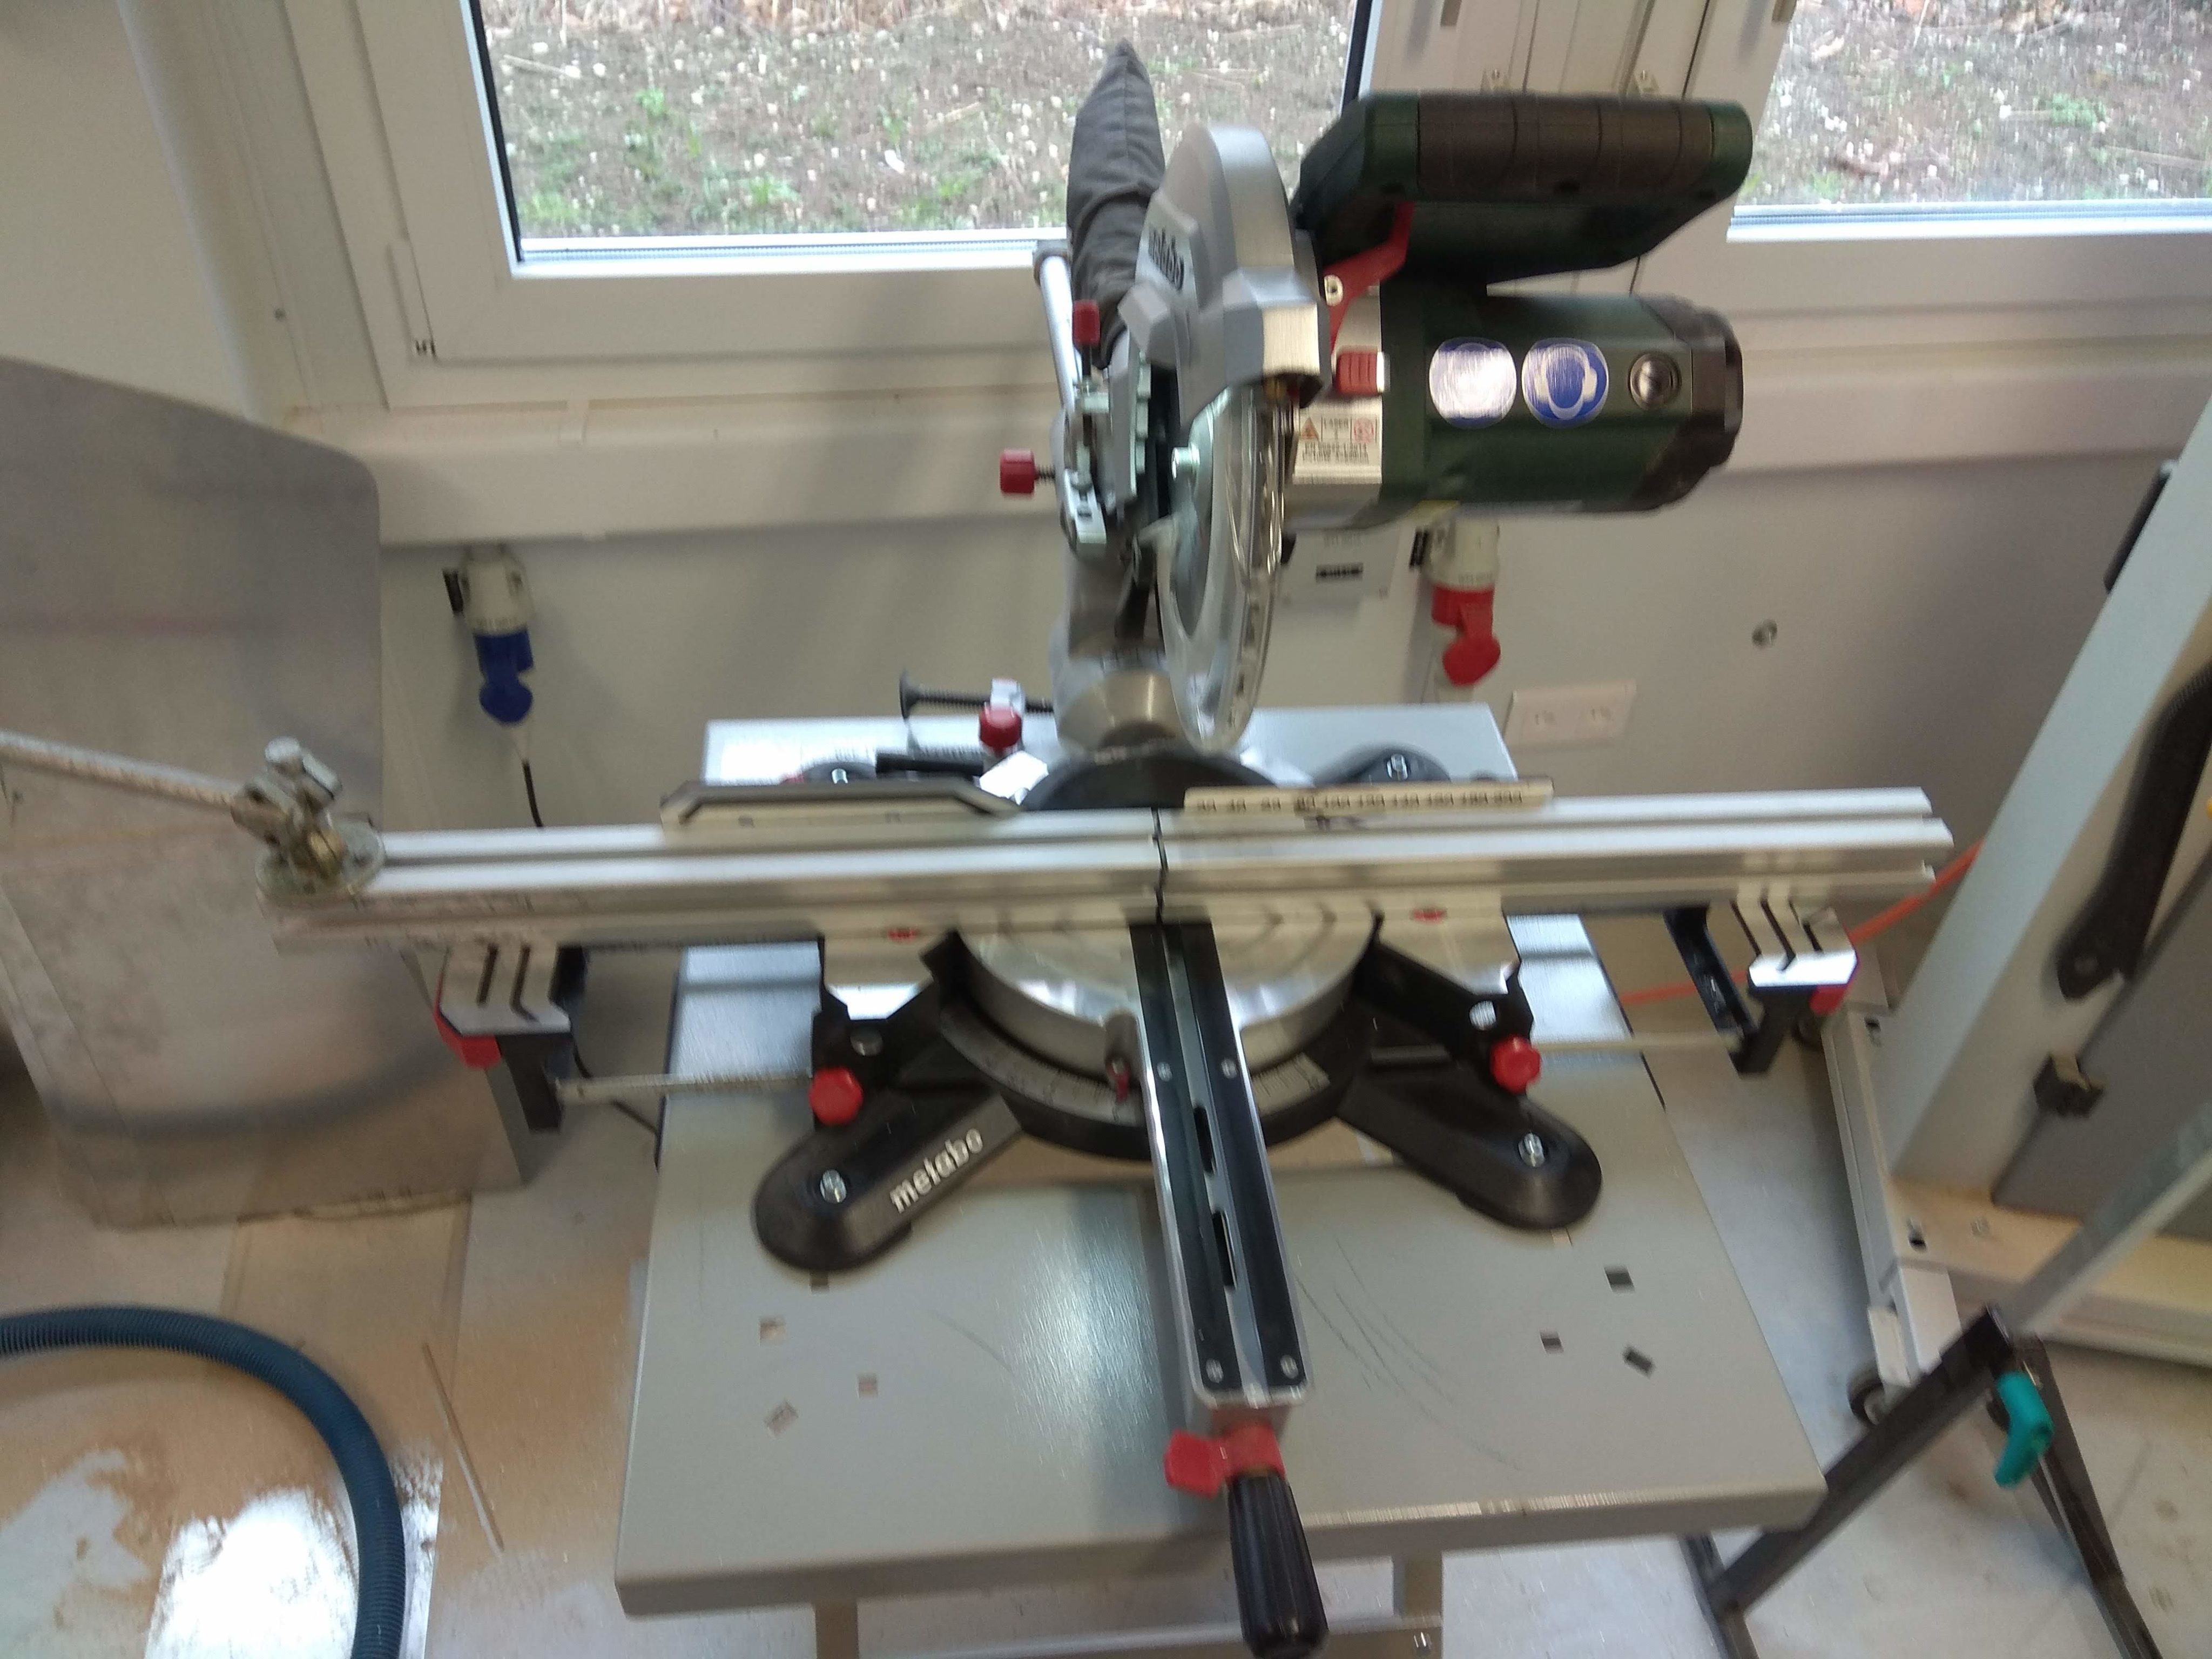
Few hours later of drilling, tapping and cutting, the frame was assembled and the linear rails were installed.
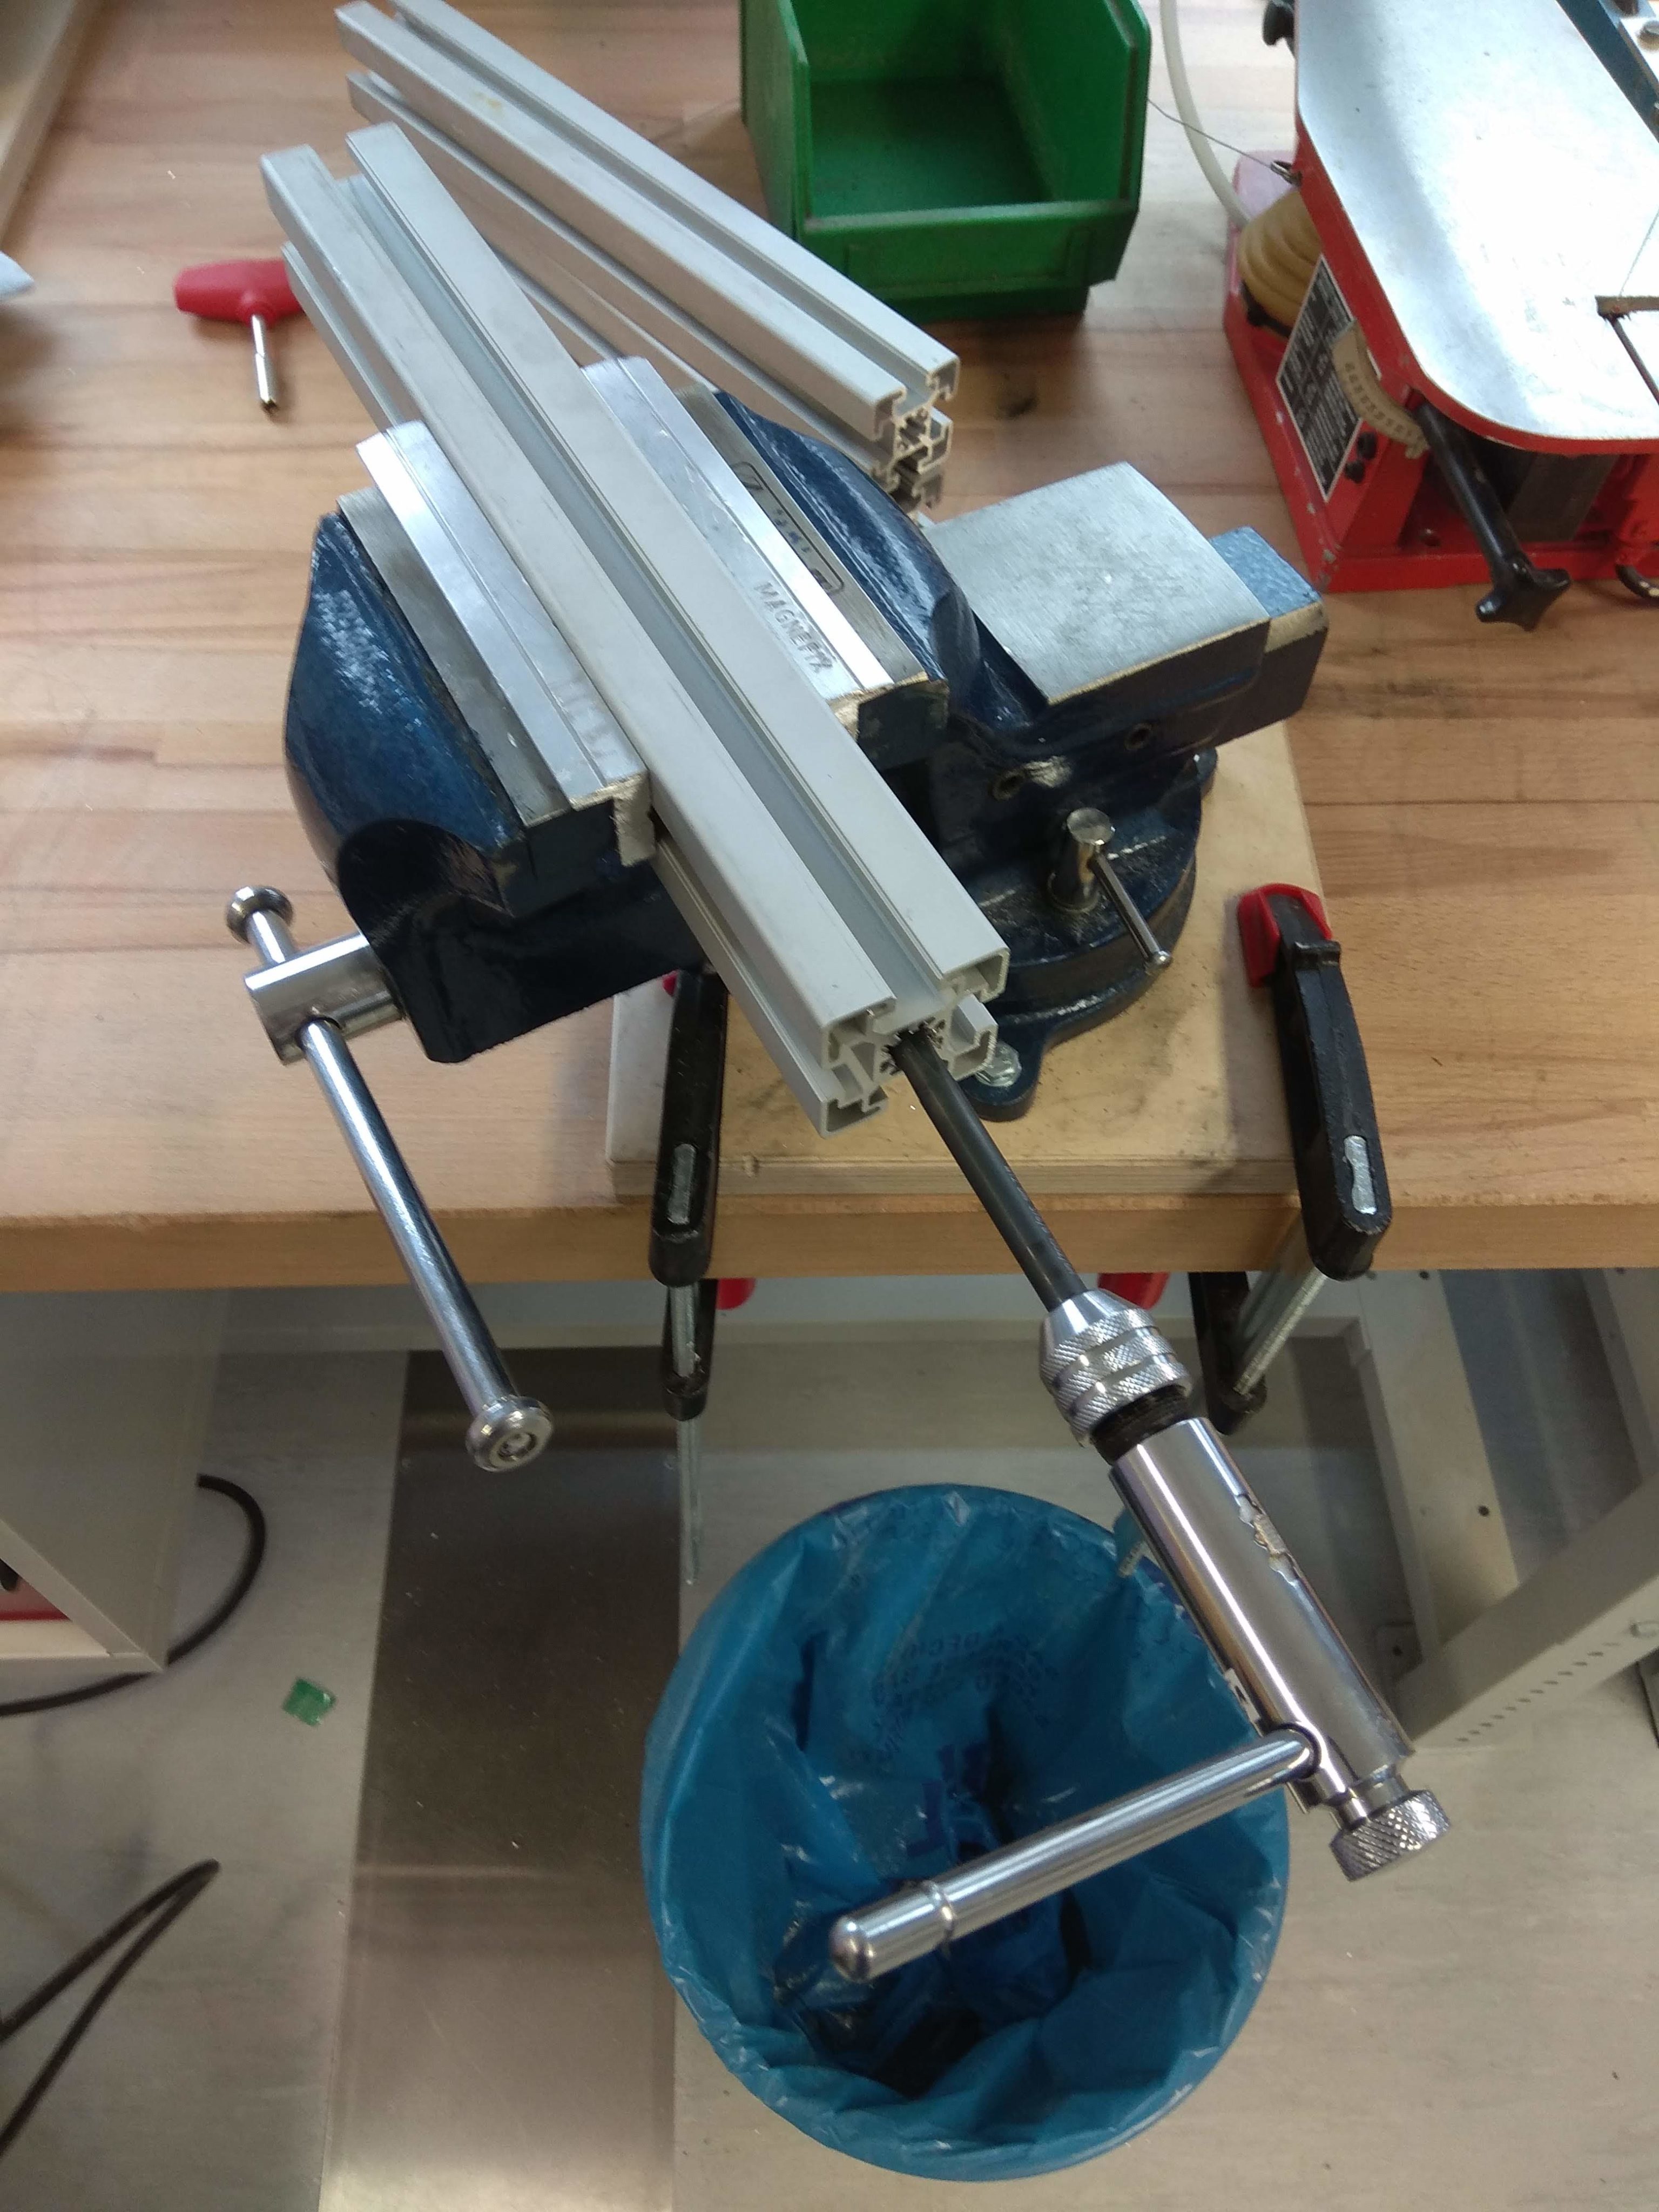
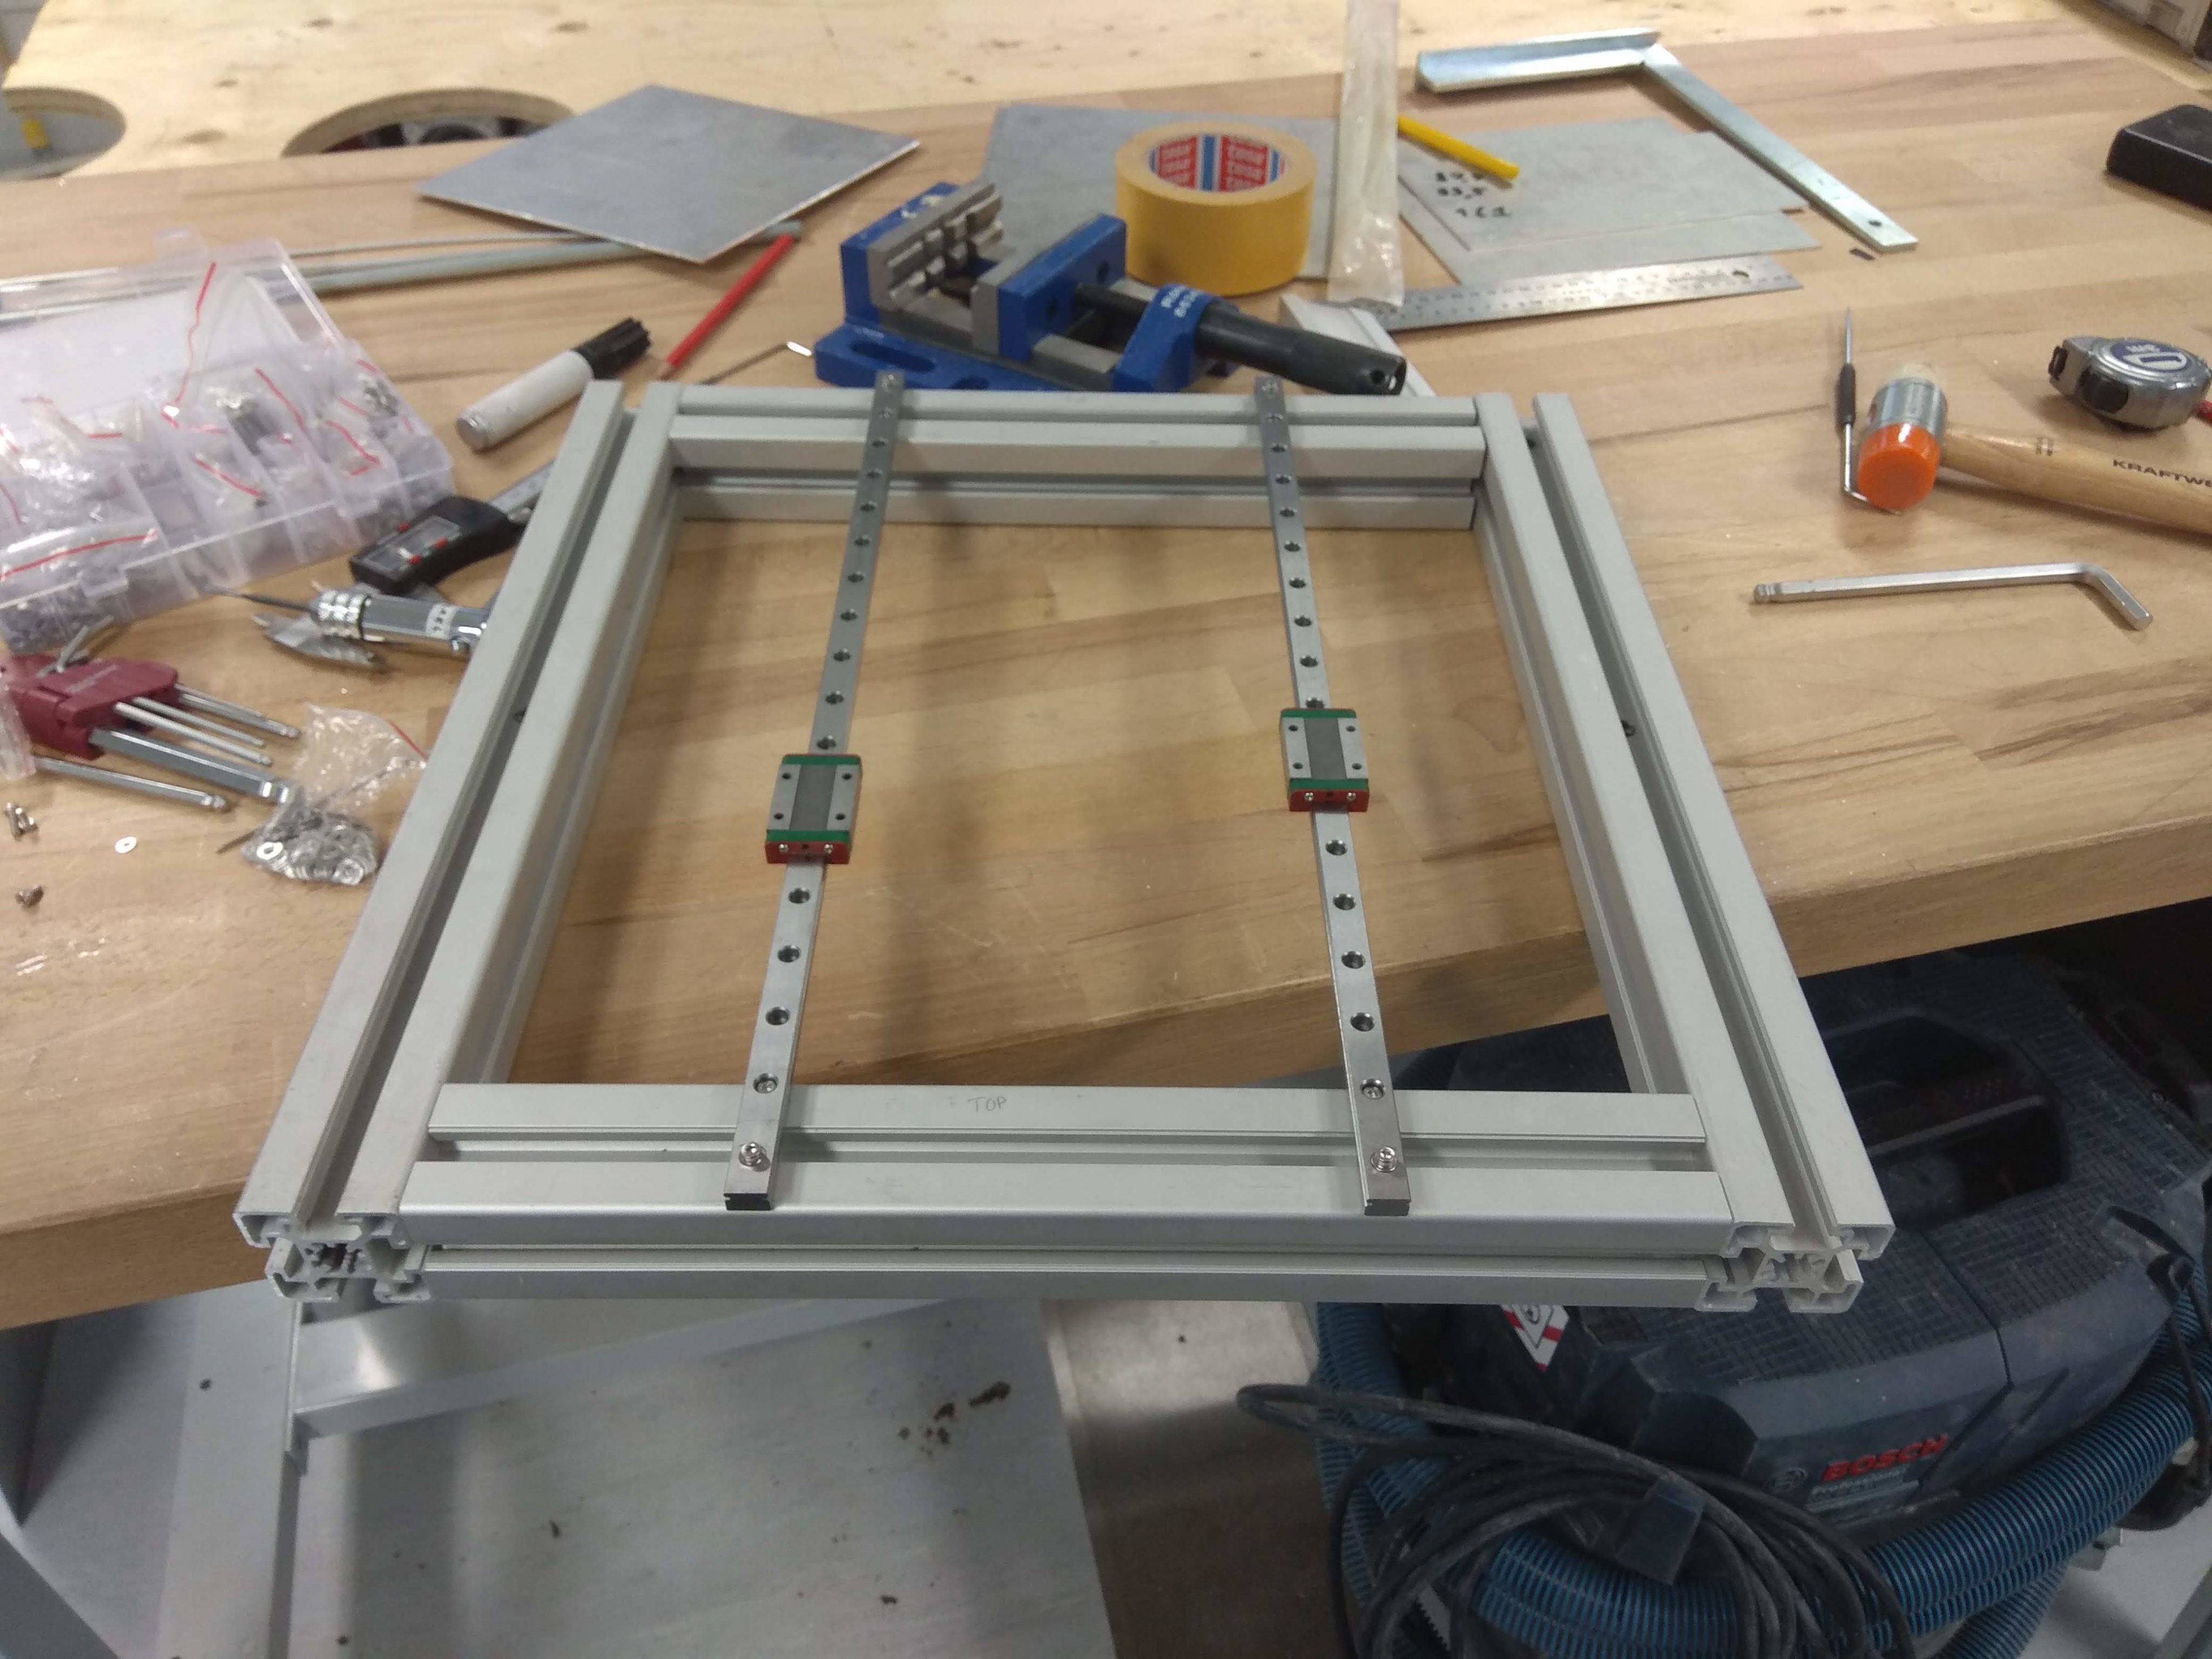
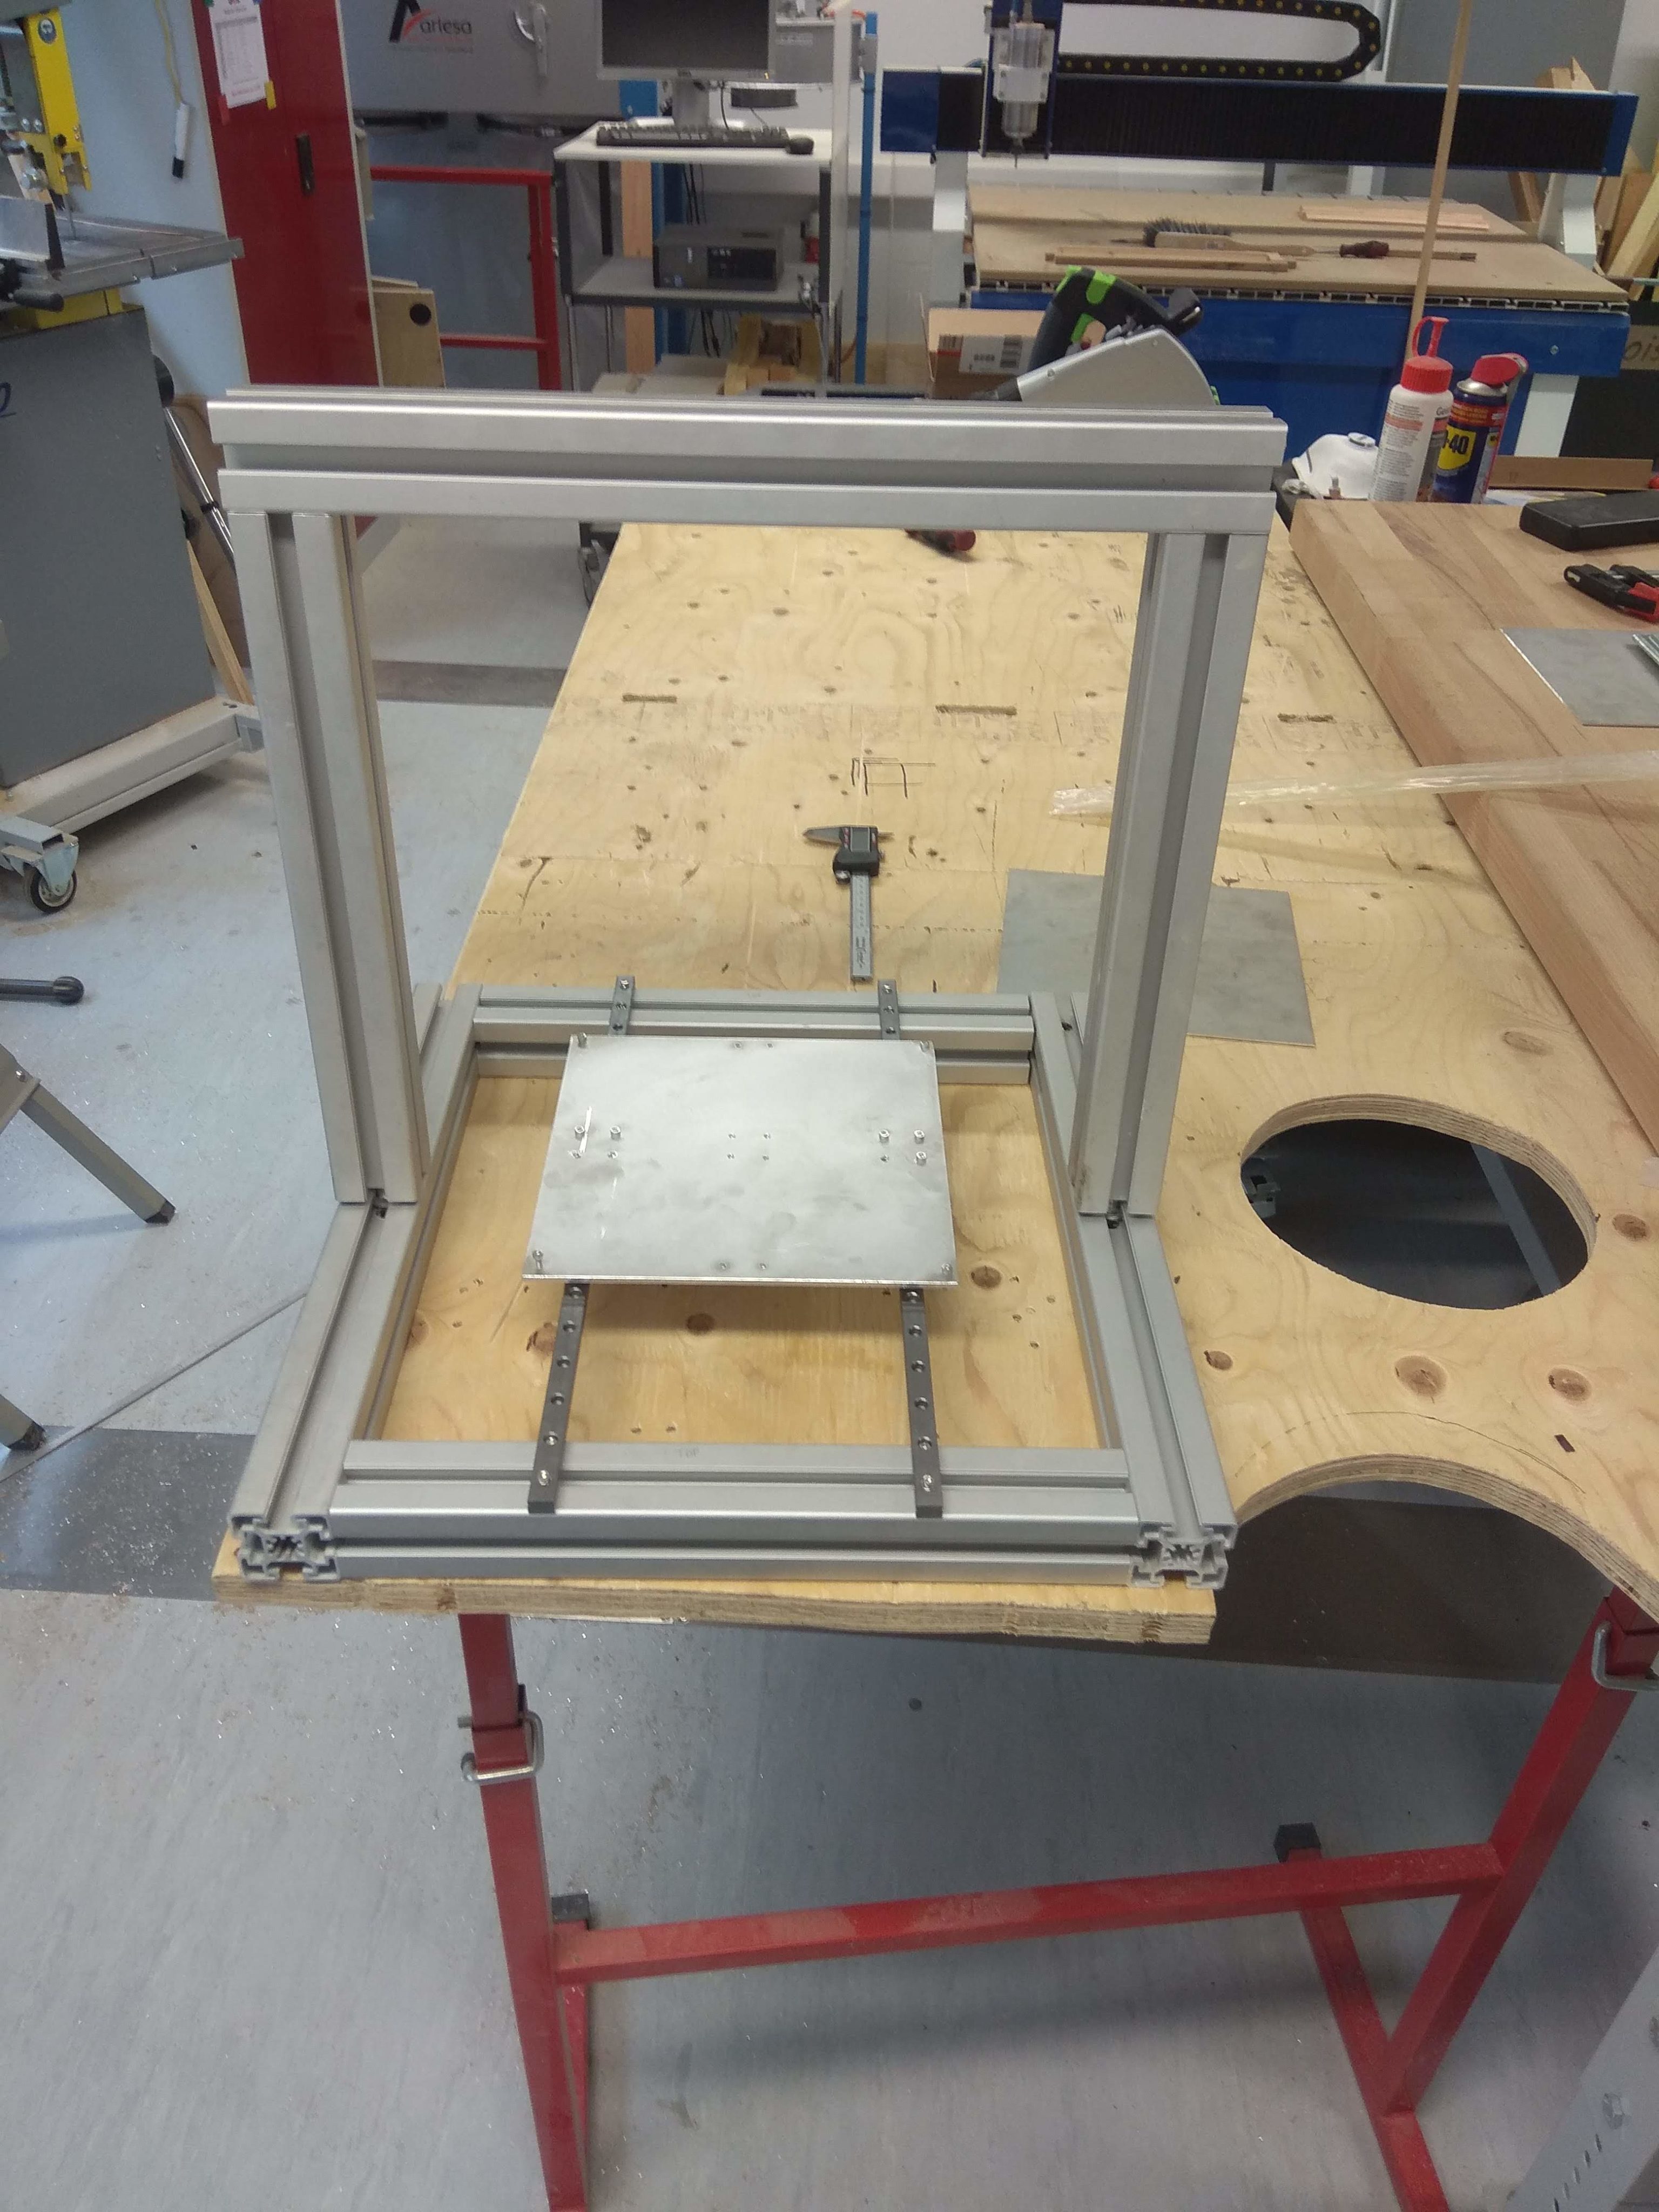
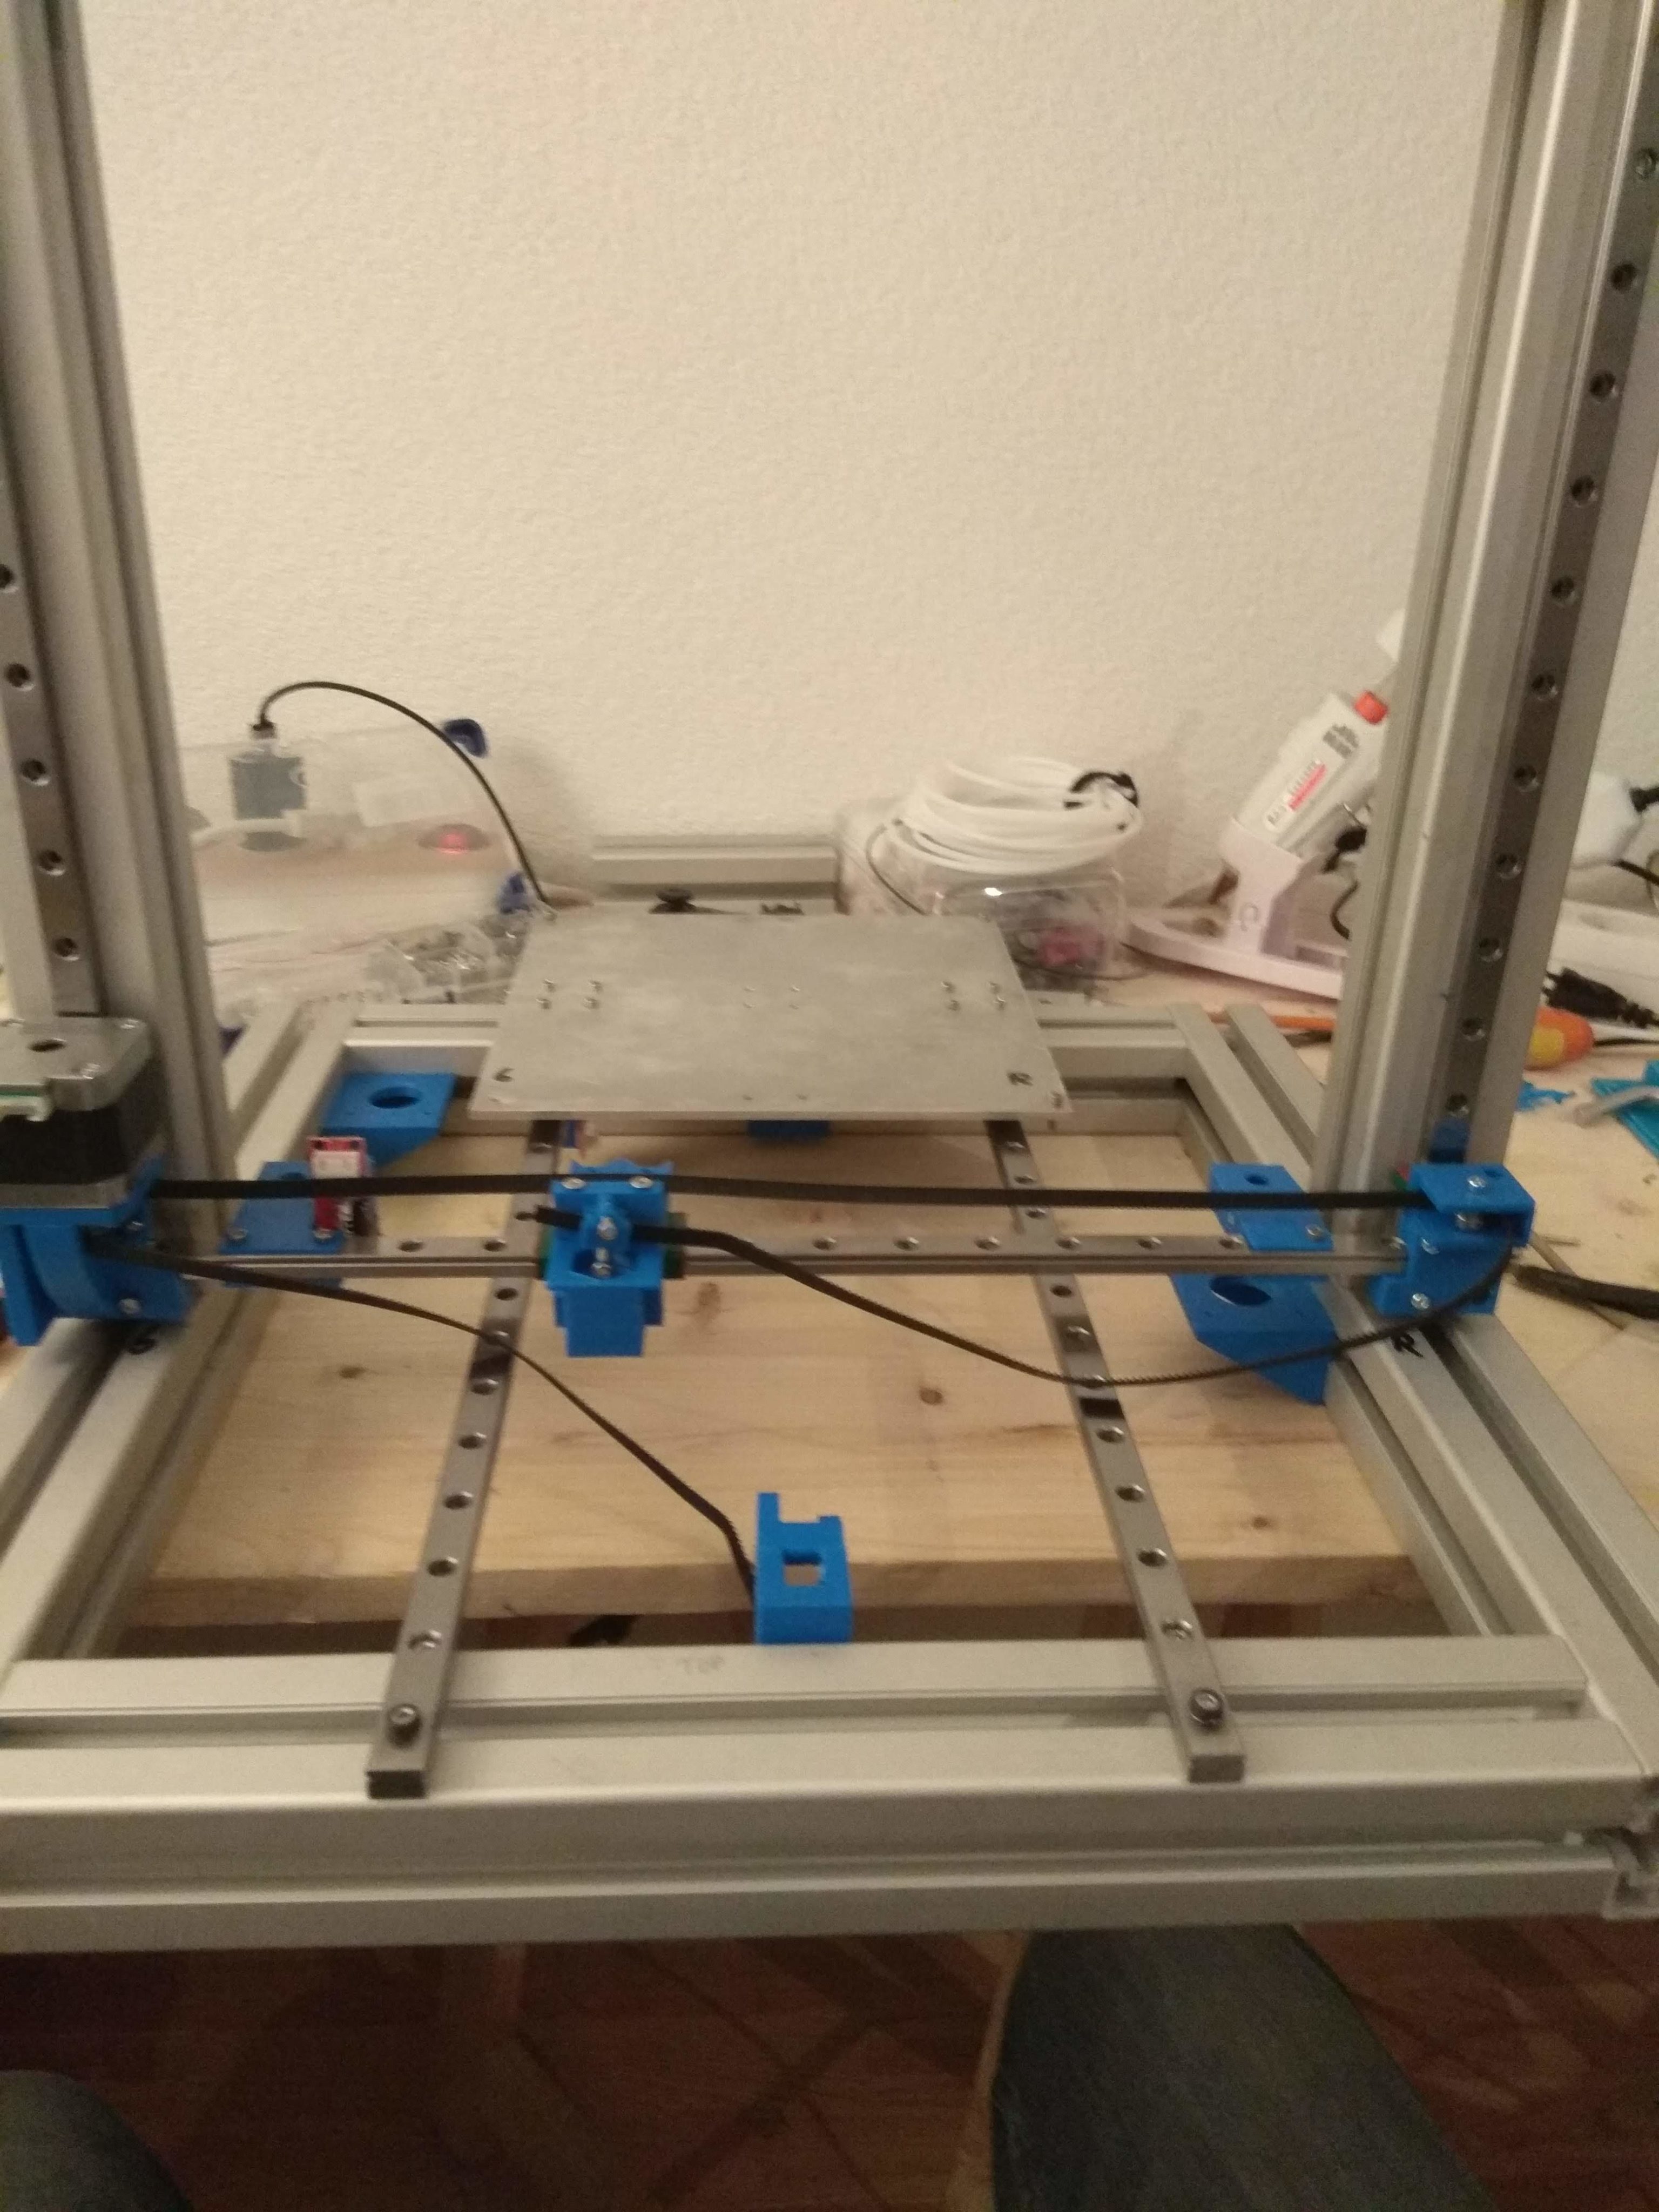
A main point of improvement is the use of a aluminium underbed to constraint the glass bed. With 4 springs on the corners no bed levelling is needed after the one time calibration.
Another great step is the use of a 32 bits microcontroller with 256 microsteps stepper driver. These new motor drivers are Trinamic 2660 which are famous for silence and stall detection. Stall detection is used to detect missing step and sensorless homing. Therefore, endstop switches aren’t needed when accurate repeatability isn’t required as for the X and Y axis.
After printing some cable-chain the result is even better.
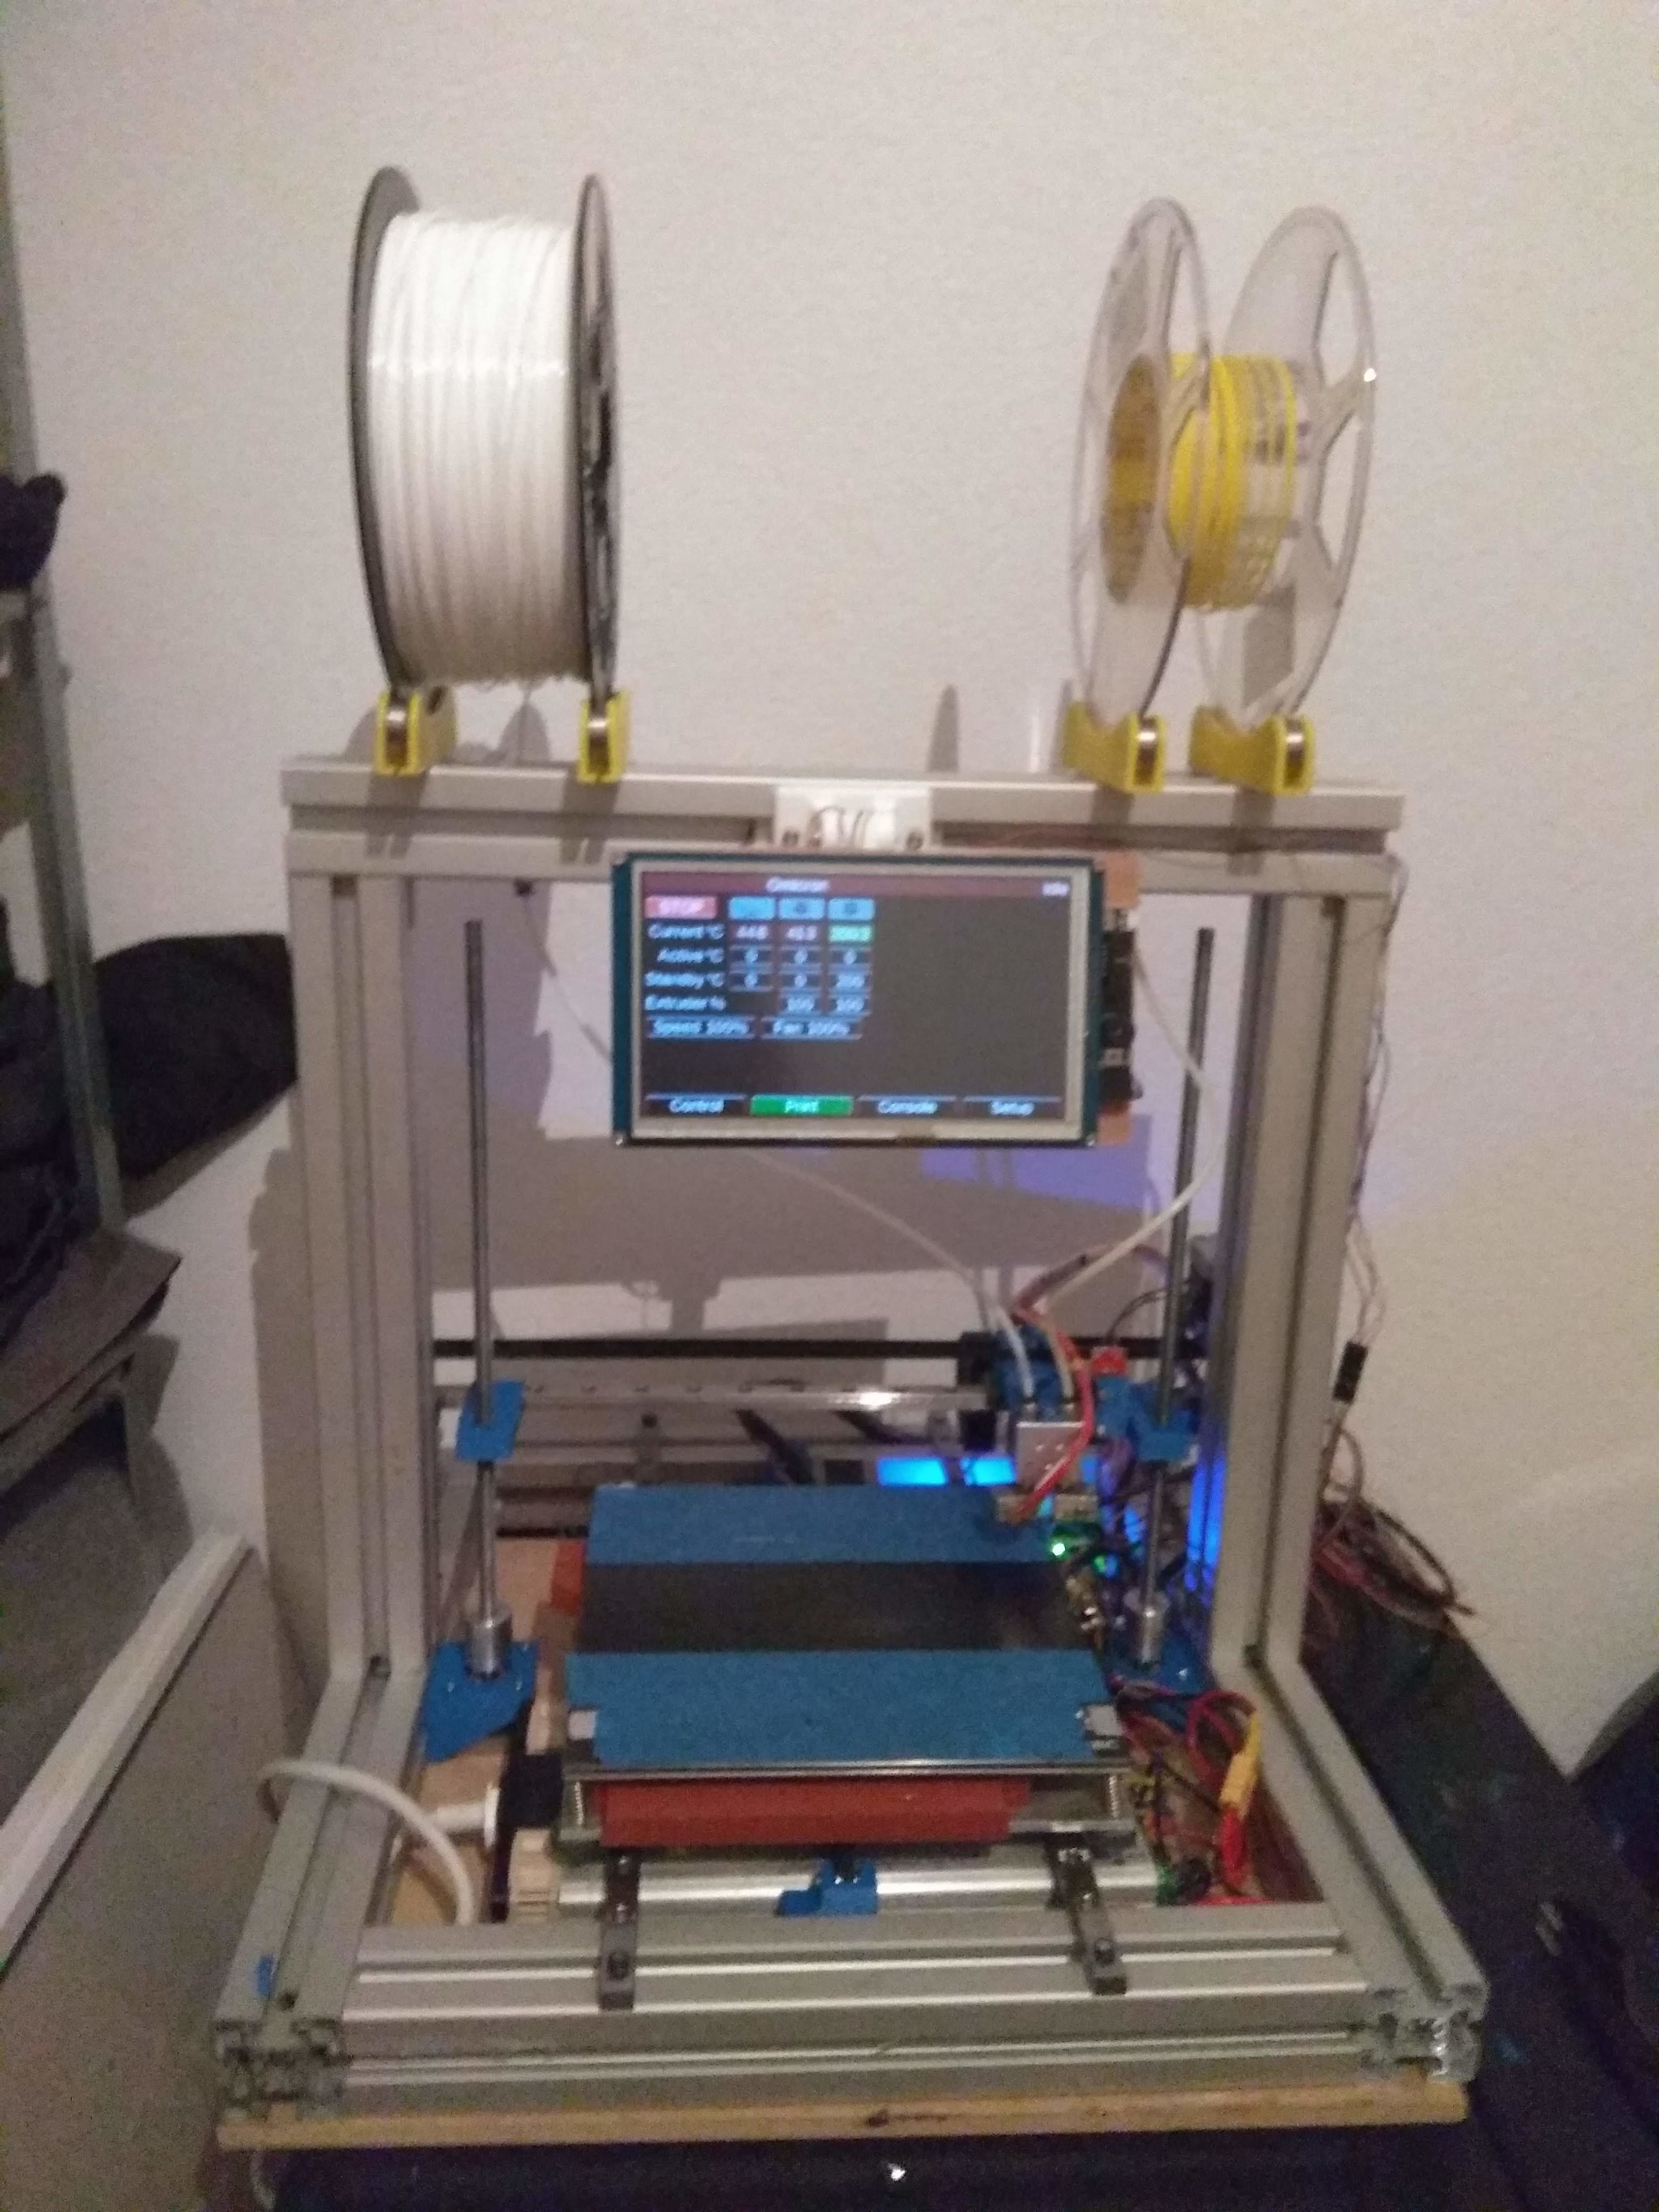
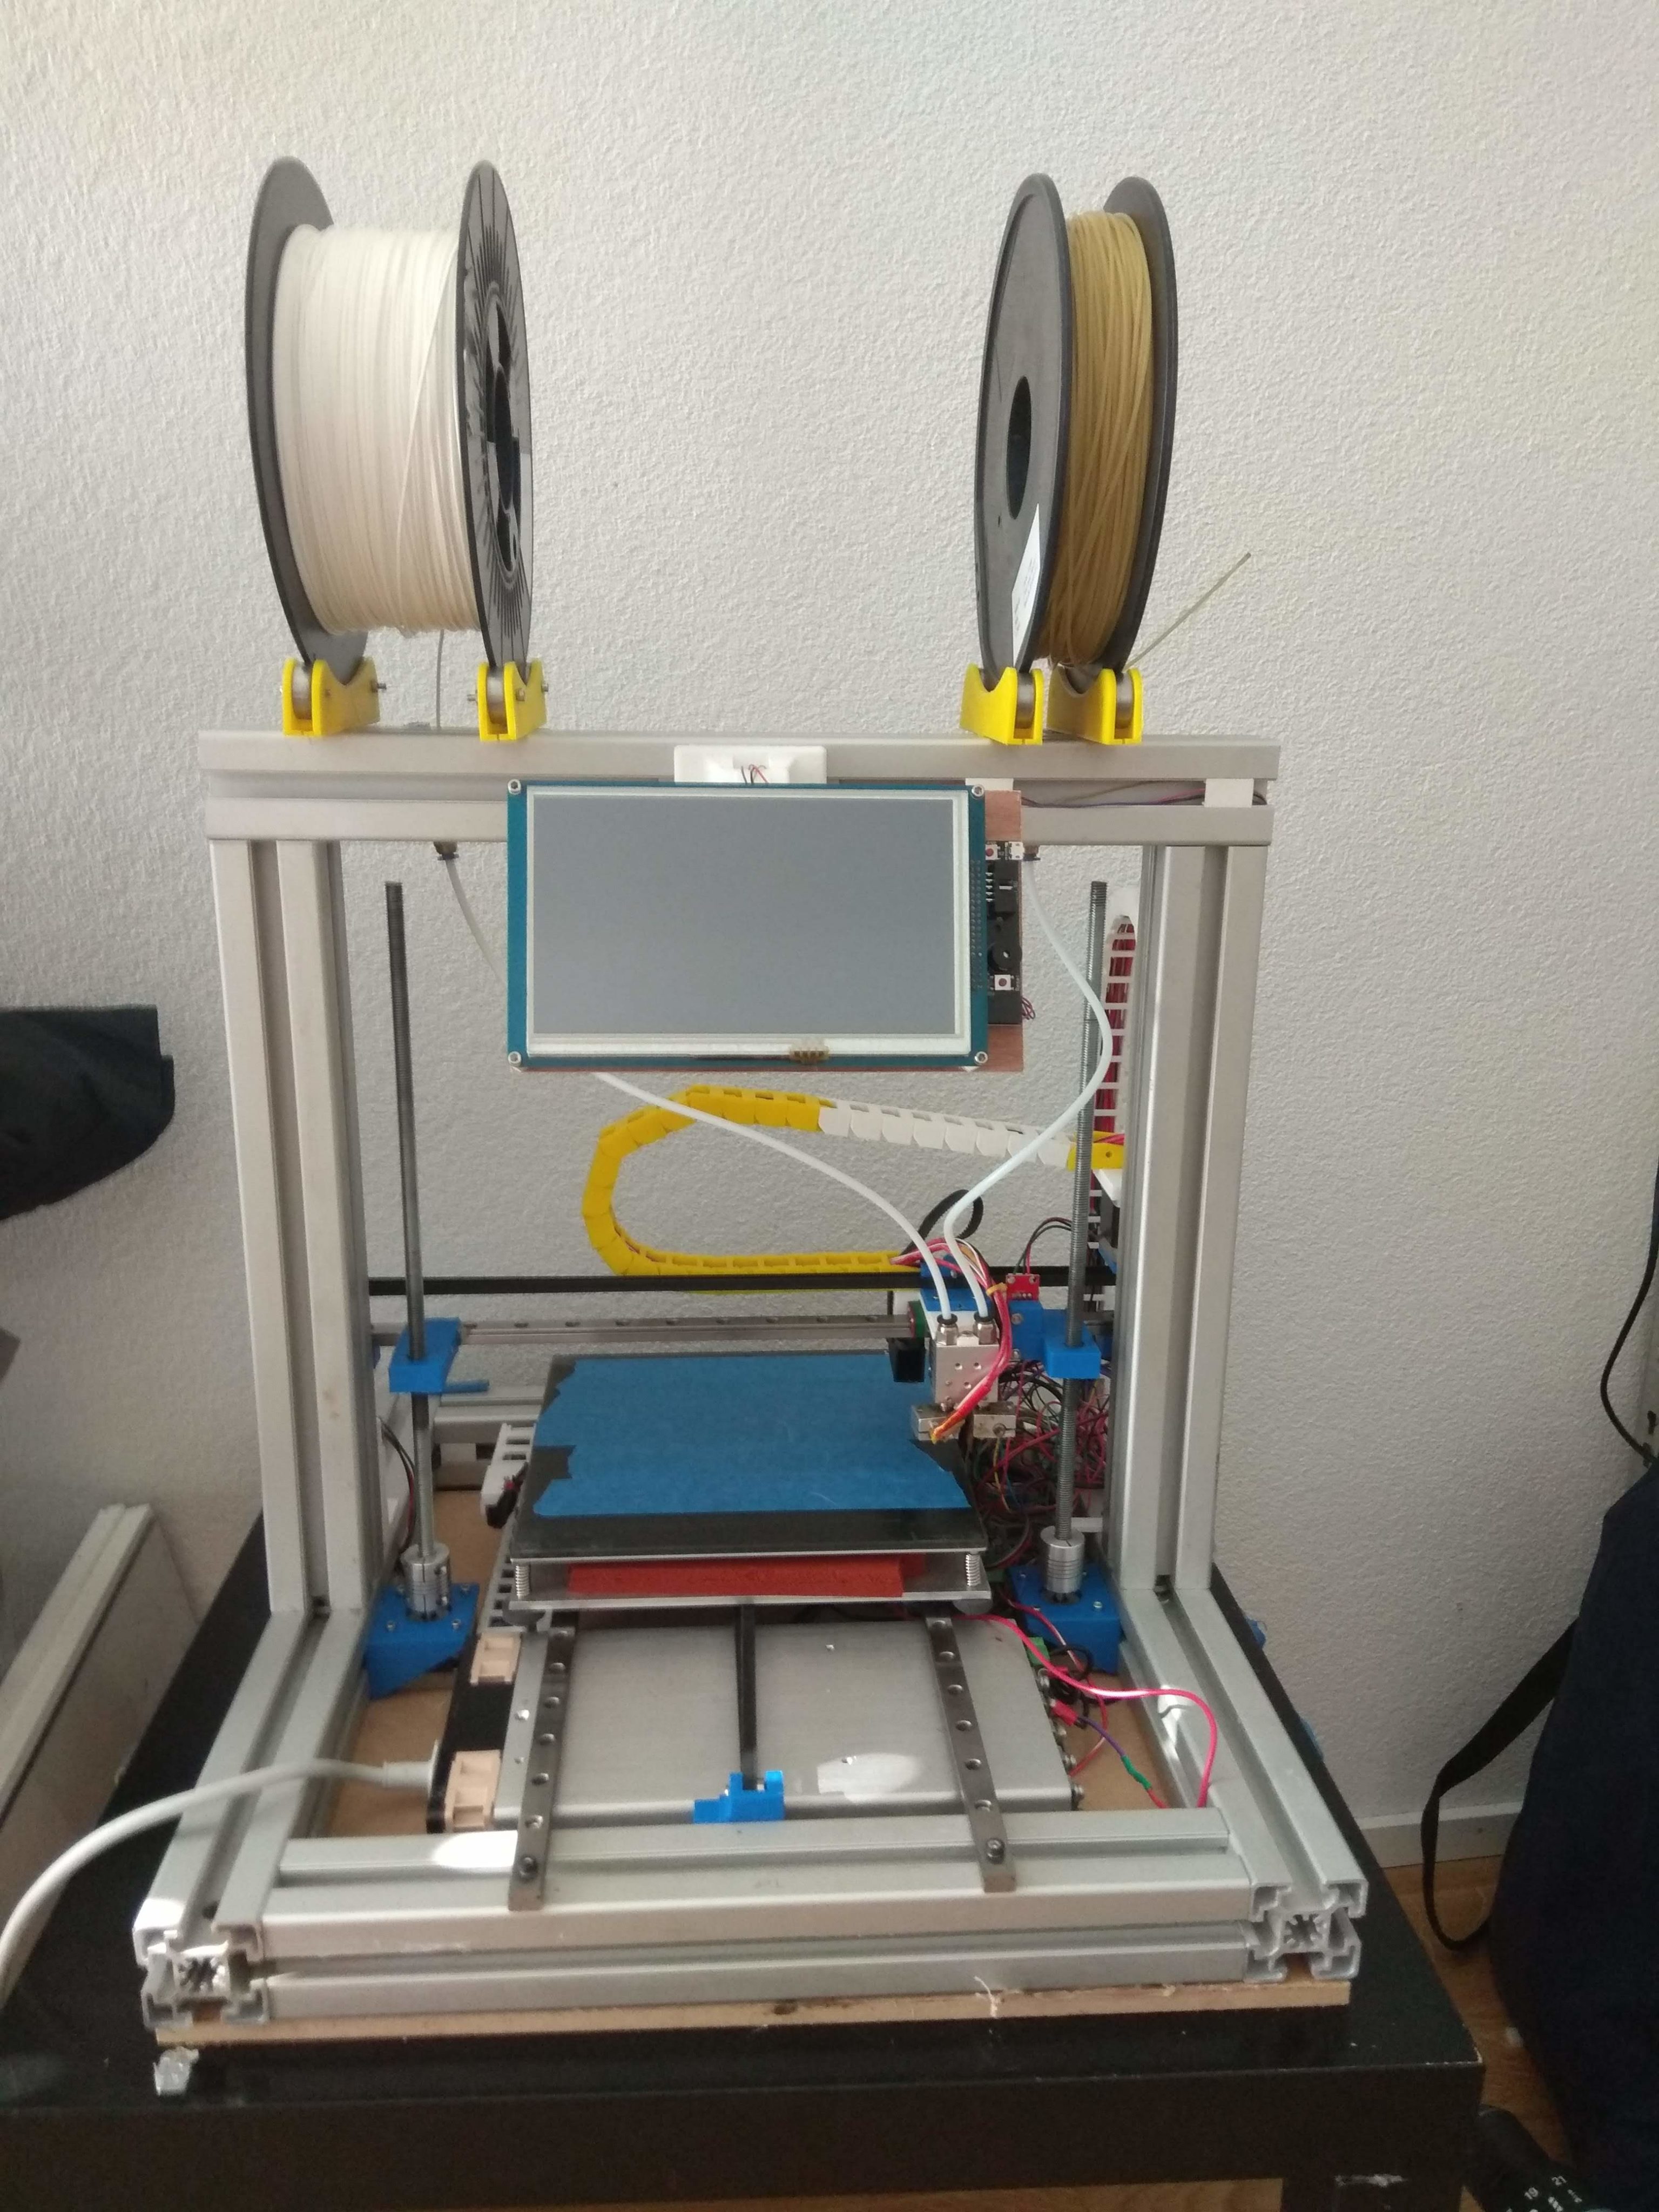
The rig is so stiff that you don’t need to recalibrate the bed after moving the 3d printer.
Next step will be to create a case and to fully cover the wiring.
Très instructif. Au fait la chaine à cables est toi qui l a imprimée ?
Oui et ça marche plutôt bien 😁