Inspired by Casey Neistat and after being pulled one day by the electric bike of my mother I wanted to have an Electric Longboard (= Skateboard). Of course it would have been too easy to buy one then I tried to build my own.
I started to buy the following components from Maytech.cn:
- 2 hub Motors :
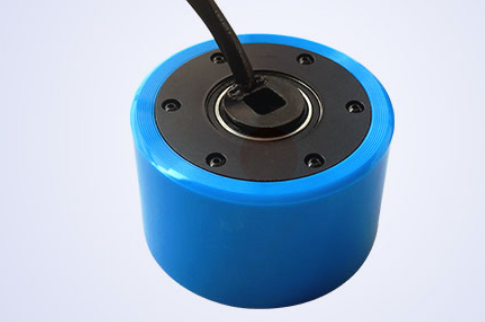
Model NO.: MTO9055-HBM-60-HA
Motor KV …………………………………………………60(RPM/V)
Hole Size ……………………………………………………M8
Motor w/wheel dimension …………………………………Φ90x55mm
Idle Current…………………………………………………0.4A
Max. Current ……………………………………………… 22A
Input Volt ………………………………………………… 24V‐36V
Max. Output Wat ………………………………………… 800W
RPM ………………………………………………………2100
Motor Weight …………………………………………… 950g:
Internal Resistance………………………………………… 0.557‐0.577
With Hall Sensor
- 1 Double ESC (Bad Point : Parameters can’t be changed)
- 1 Remote and receiver
- 2 spare wheels of the same size
- 2 trucks to mount the 4 wheels.
Quickly (< 3h) the remote stopped working then I replaced it with a standard RC Car remote (https://hobbyking.com/en_us/quanum-2-4ghz-3ch-pistol-grip-tx-rx-system.html)
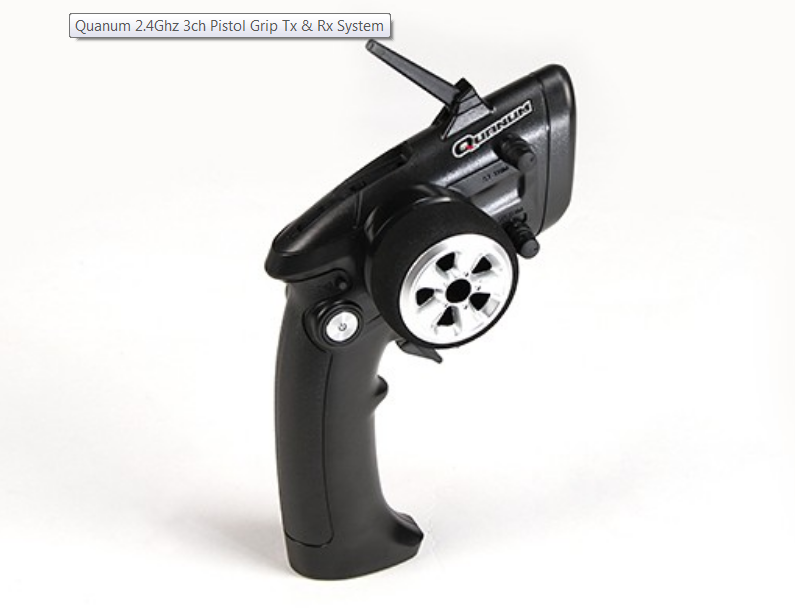
Any remote would work if the receiver output is PWM based. 1 Channel is enough but I wanted to get extra just in case to control optional things (light for example).
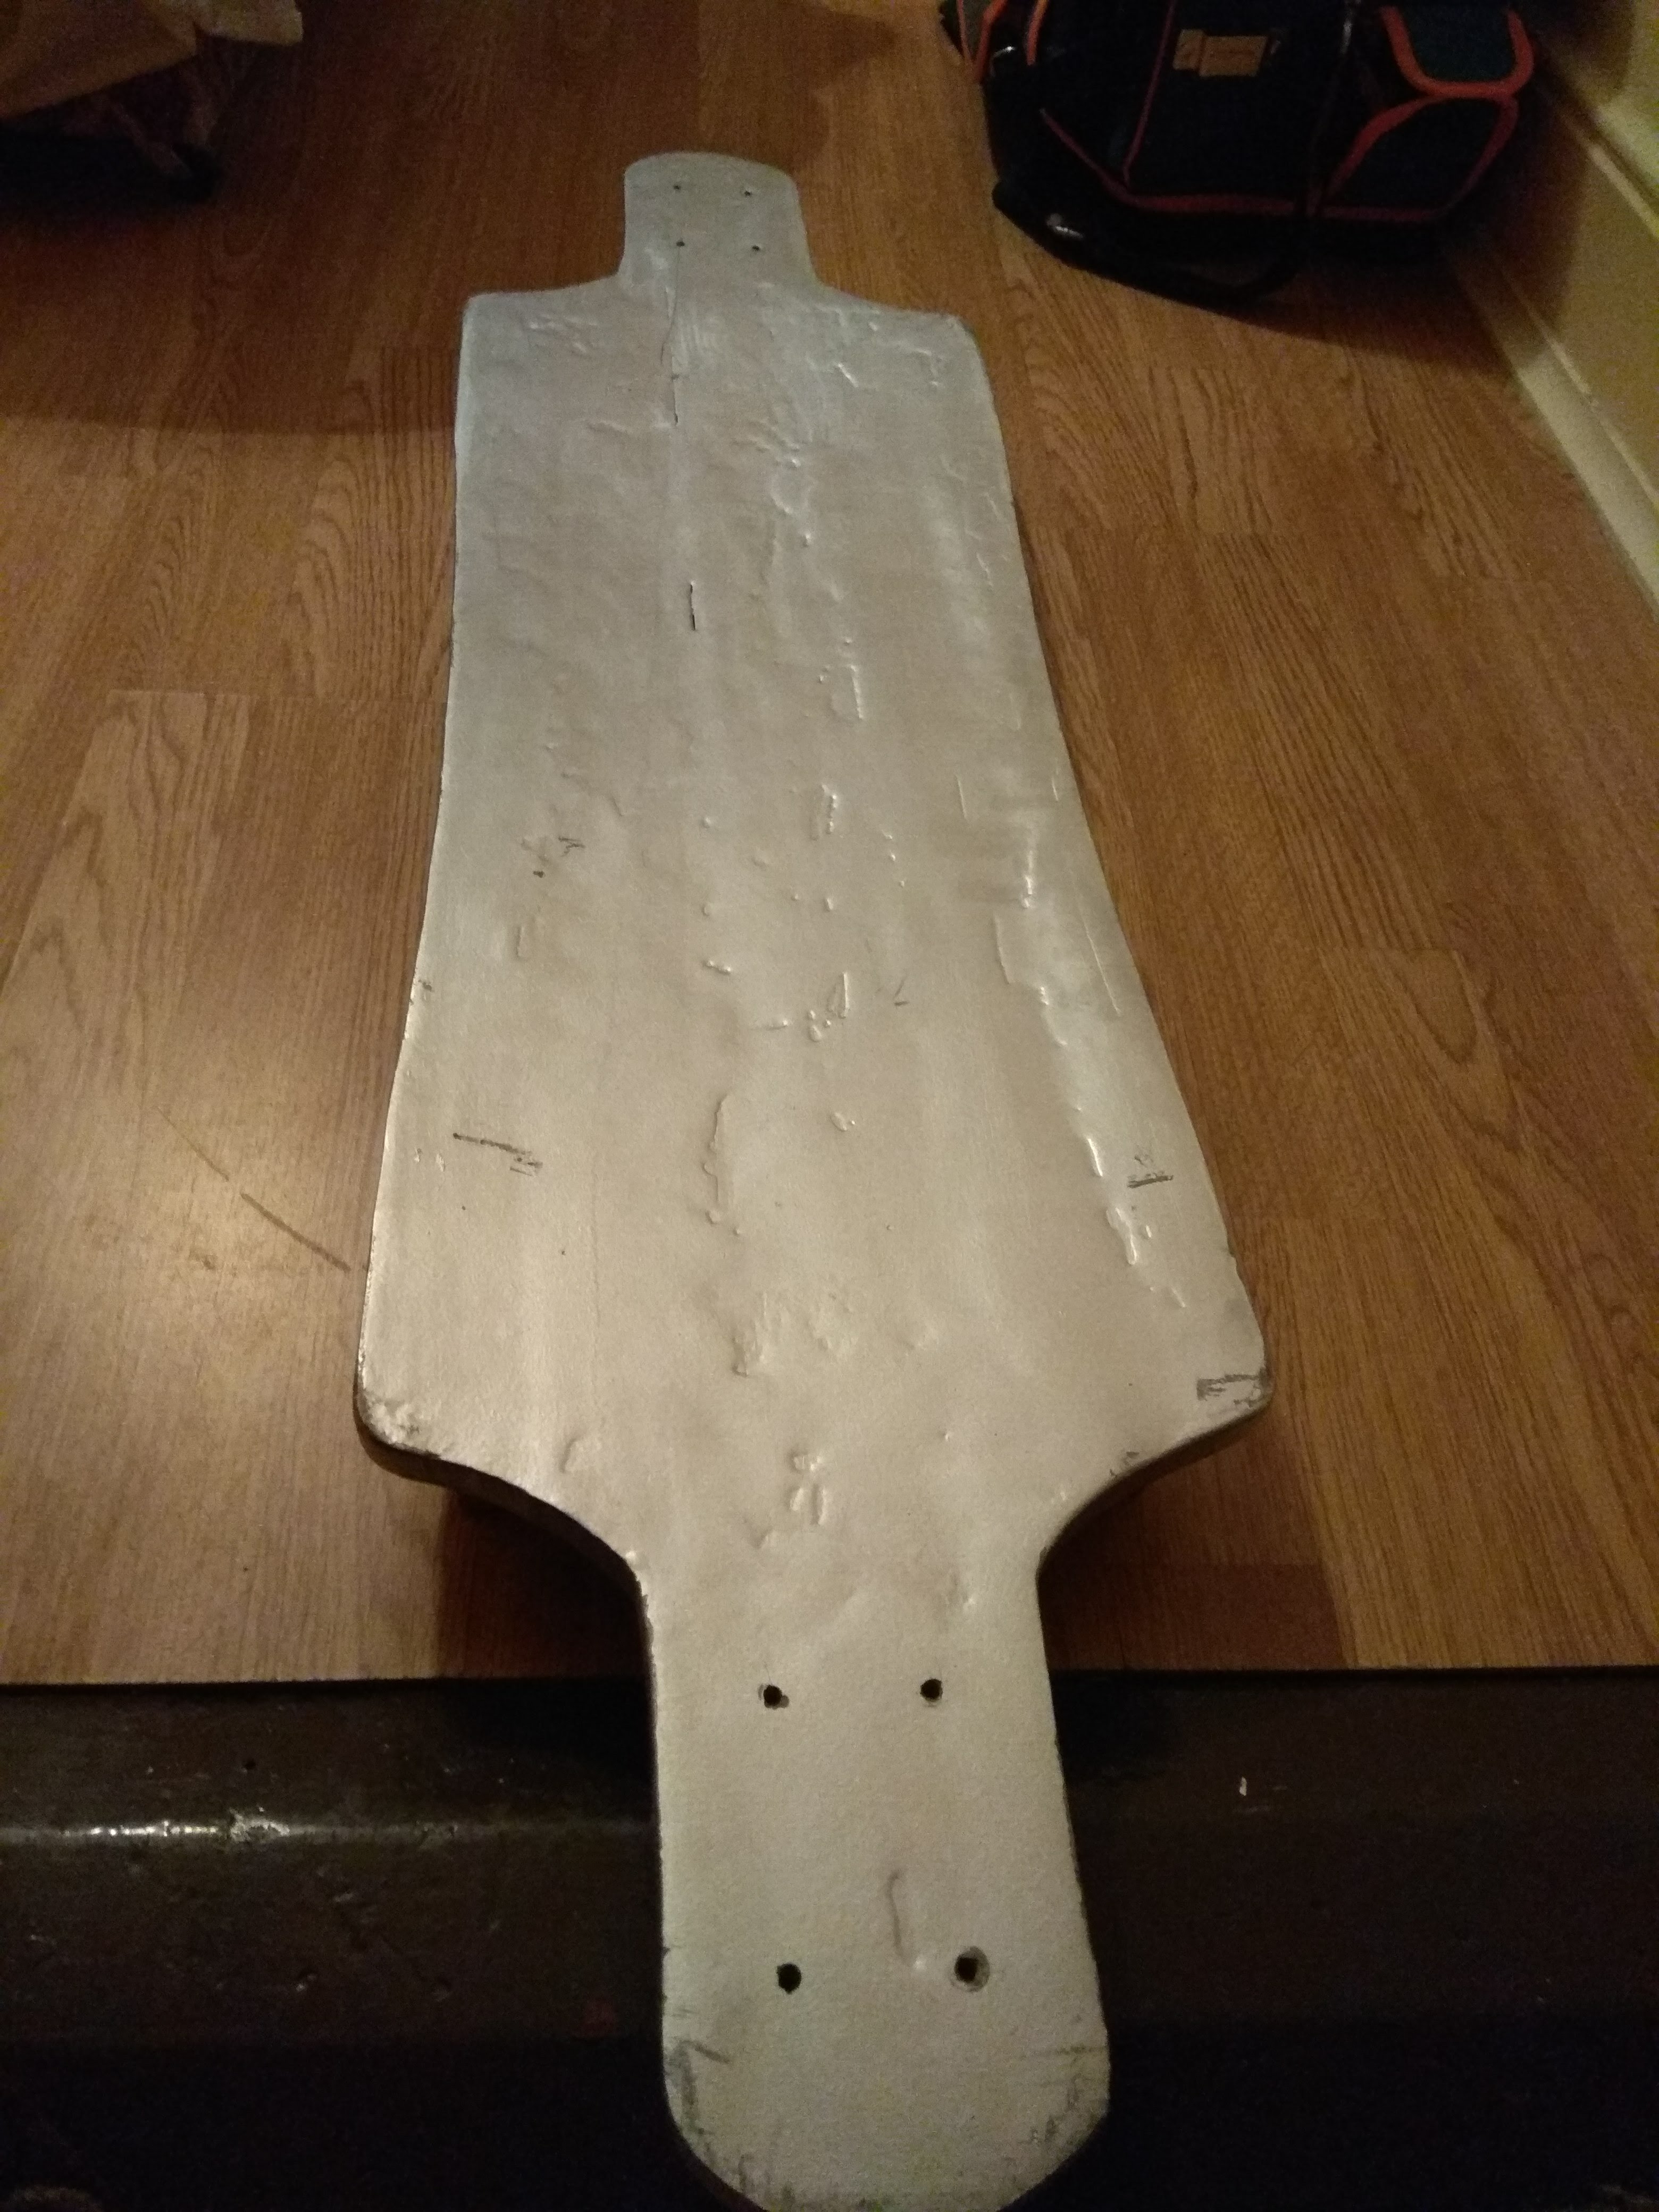
I mounted all of that on my existing deck with some 3D Printed parts.
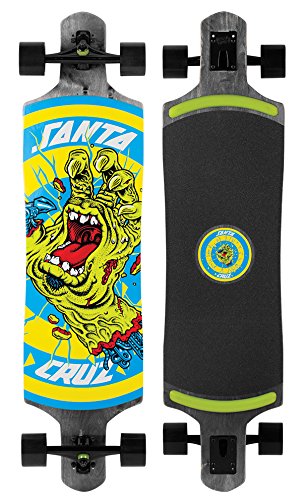
Figure : My existing deck
All went well for 2hours, happy with the maximum speed, the smoothness of the acceleration but not the braking. Too slow to stop you, I will definitively hit a car or a wall one day…
Unfortunately during a lap around a park the battery unplugged while I was braking, energy had to go somewhere and fried the esc.
In total I spent few hours of Designing, 3D printing, debugging the non-working remote, soldering wire for 2 hours of use. It wasn’t worth the money/time I spent and I wasn’t happy with the result. I had to do it again.
At that time we are in November, even if I could build something quickly I won’t be able to ride before few months. Therefore I decided to build my own deck with an integrated enclosure to store the electronics and the batteries correctly.
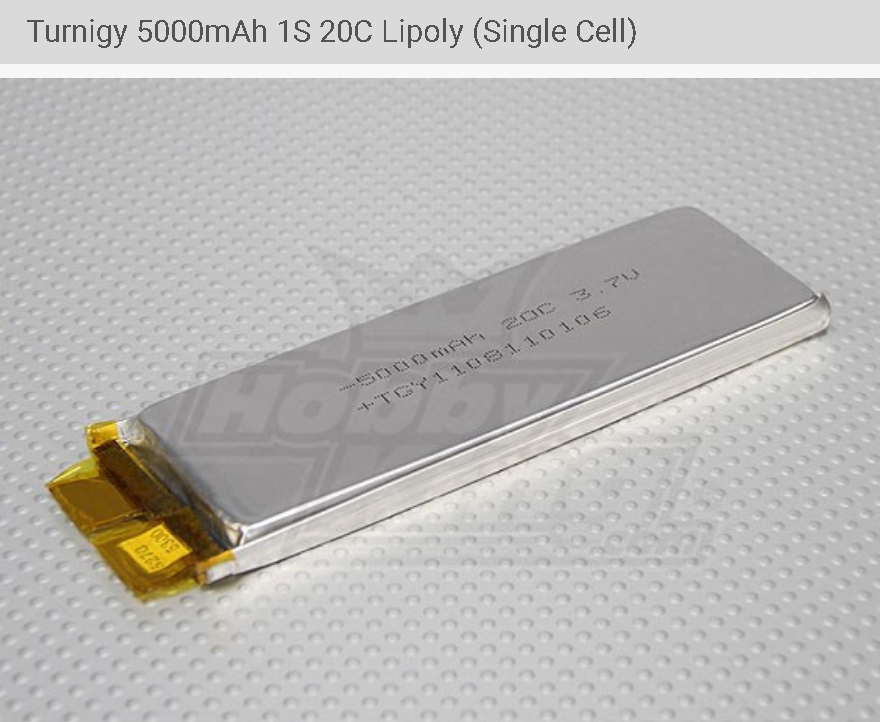
I had the following big batteries (2 in series to give me 10s=42V 5Ah)
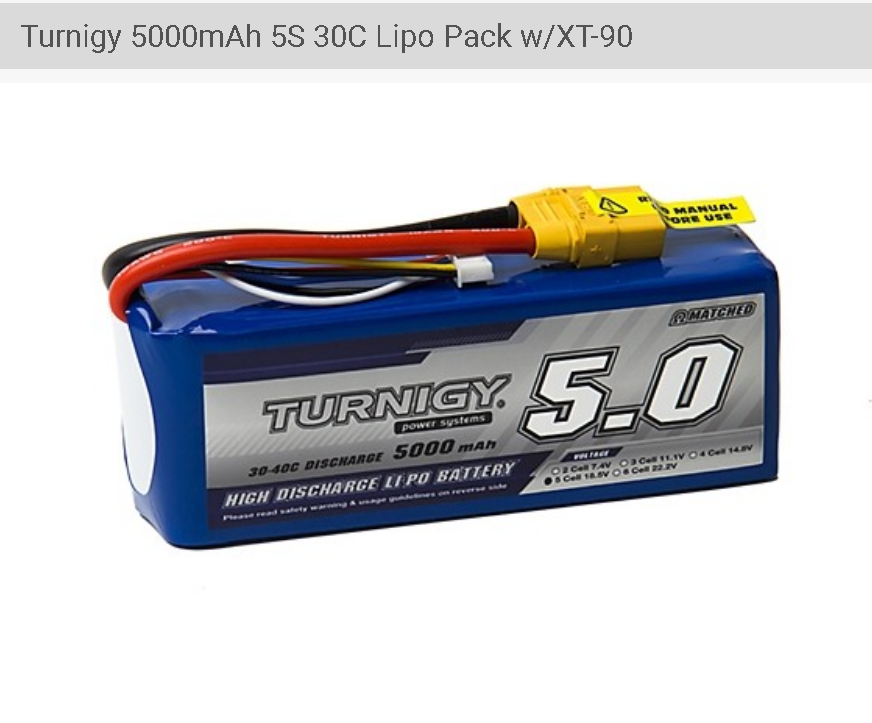
It was definitively too big for any enclosure, I will touch the ground if I turn. Therefore I bought many single cells to do my own pack of batteries
Then I got help from my friends Tom and Jim (Last wooden boat builder in Ireland, check their Twitter https://twitter.com/ilenproject?lang=en) to build the new deck.
Building the deck :
The first step was to create a jig to give the shape to the new deck. I wanted to keep the dimensions and the curve of my actual deck (yes it is handy that your feet go naturally at the good position on the board). I had to make the jig wider than the future deck, otherwise the edges would have been nasty.
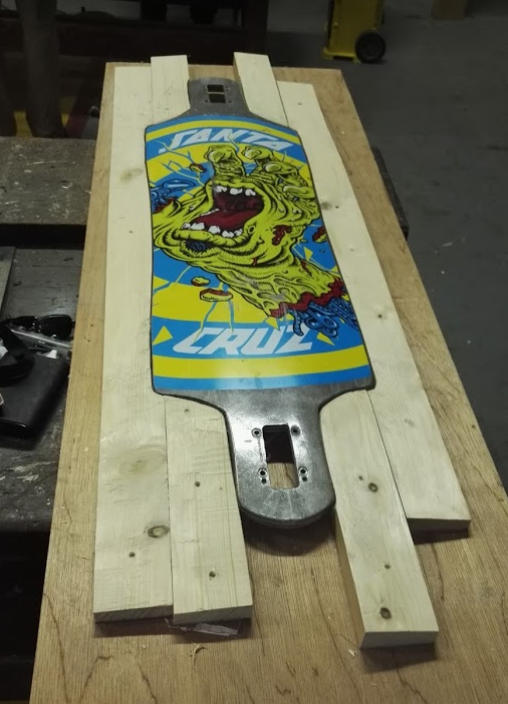
Figure : I will use my actual deck + some extension to give the shape.
Second step was to cut some white American ash in many thin slate of wood.
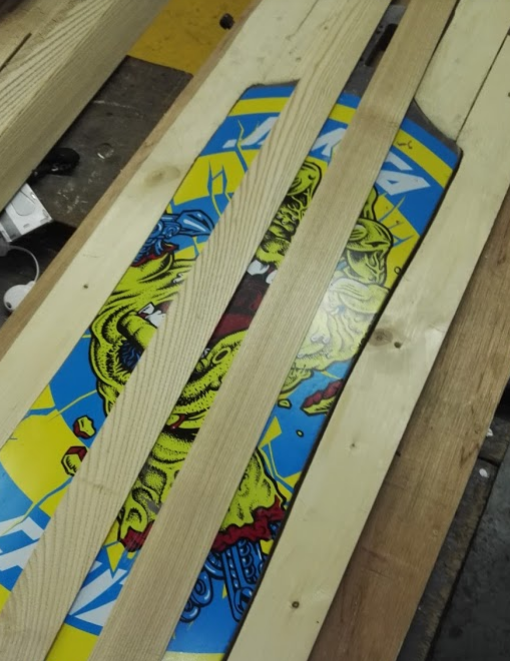
Figure : two slates on top of my deck
The plan is to stack 5 layer of slats with different angle to get flexibility and strength.
The first and 5th layer will be at 0°, the second and 4th layer will be at 45° and at -45° and the 3rd layer will be at 90°. I used epoxy (with some fillers) to glue all the layers and I let it dry for a week.
Plastic film is used to separate the jig to the wood, epoxy do not stick to the plastic.
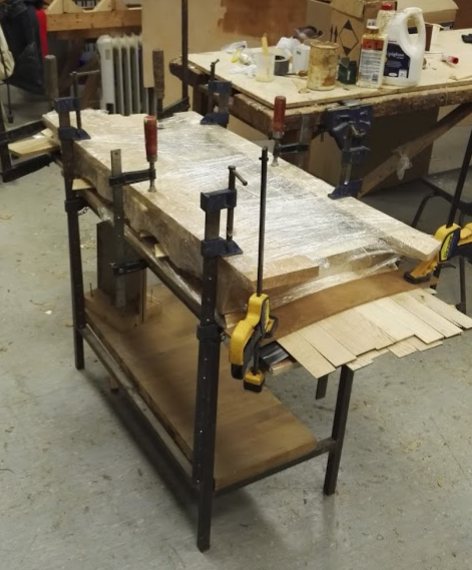

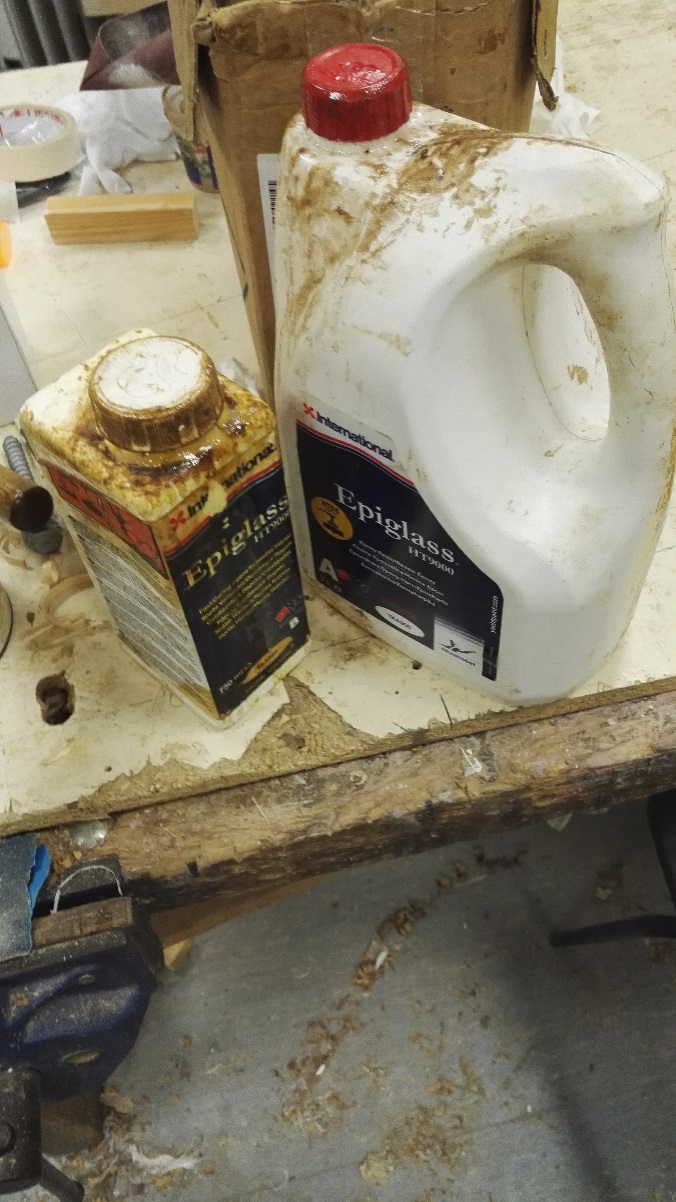
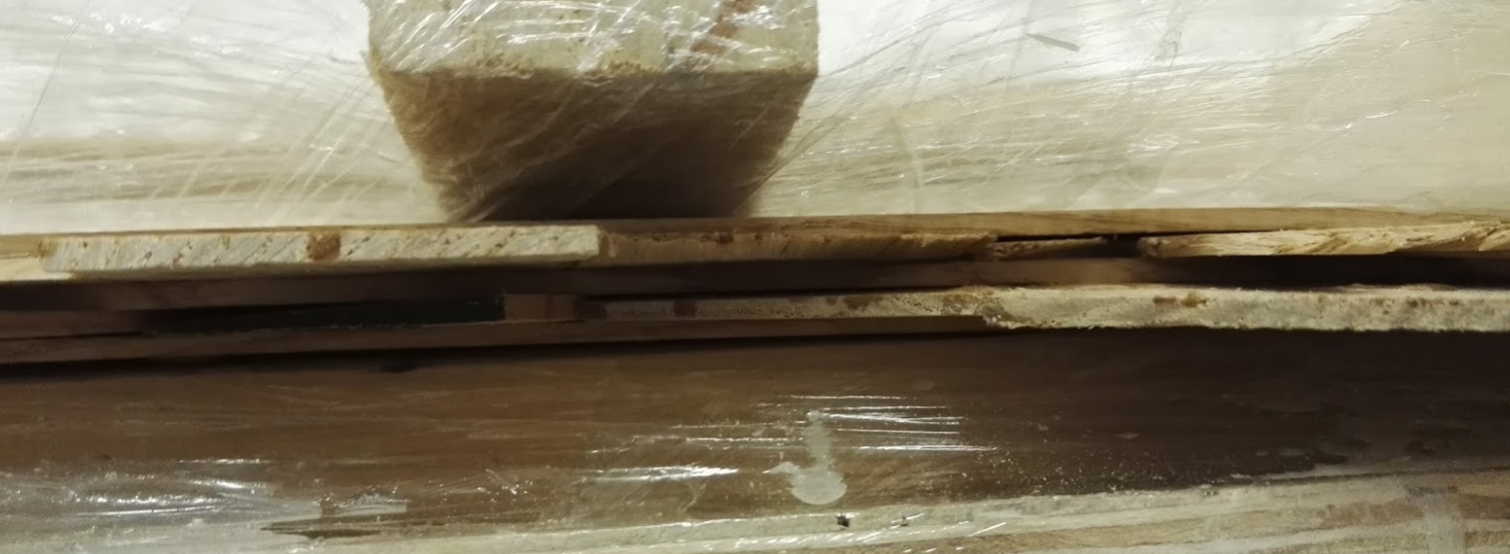
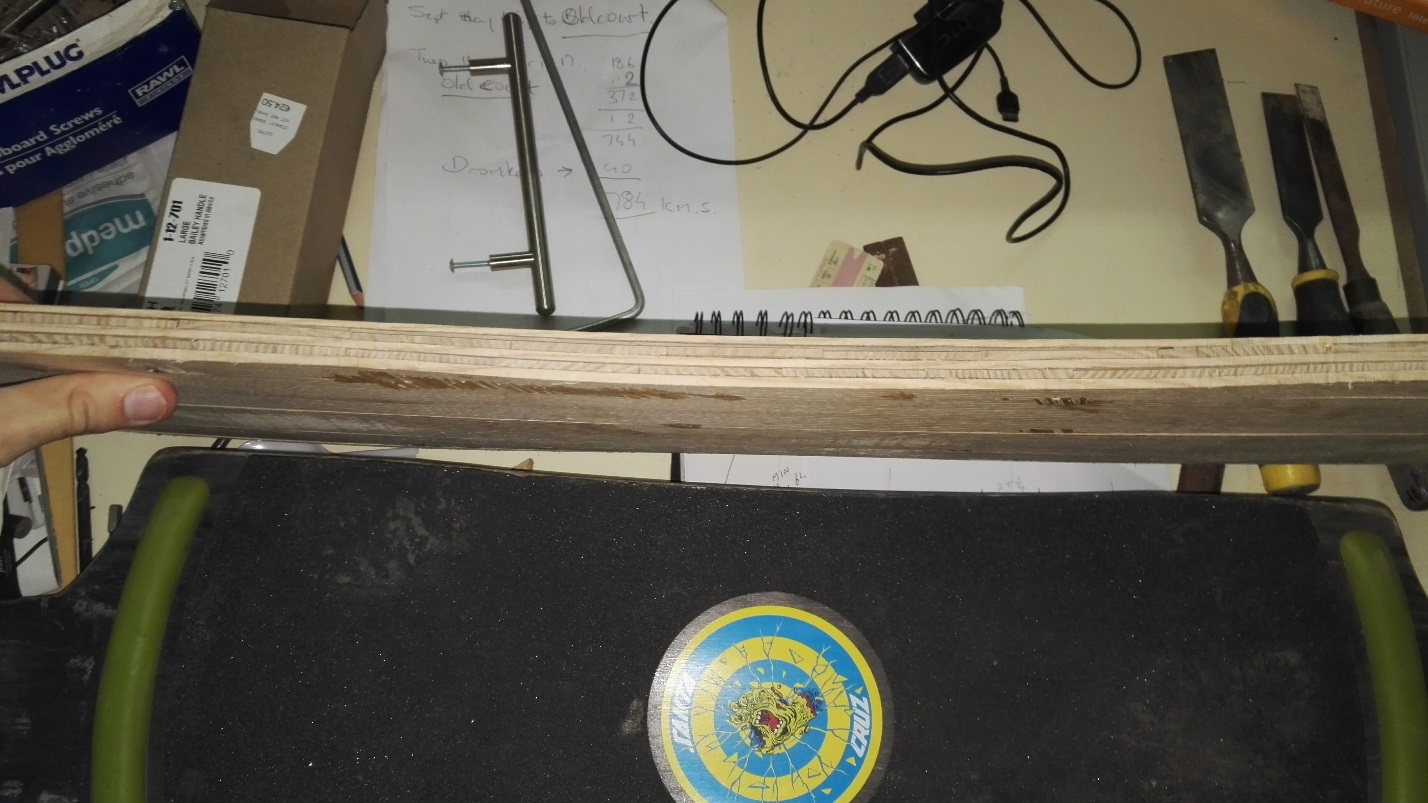
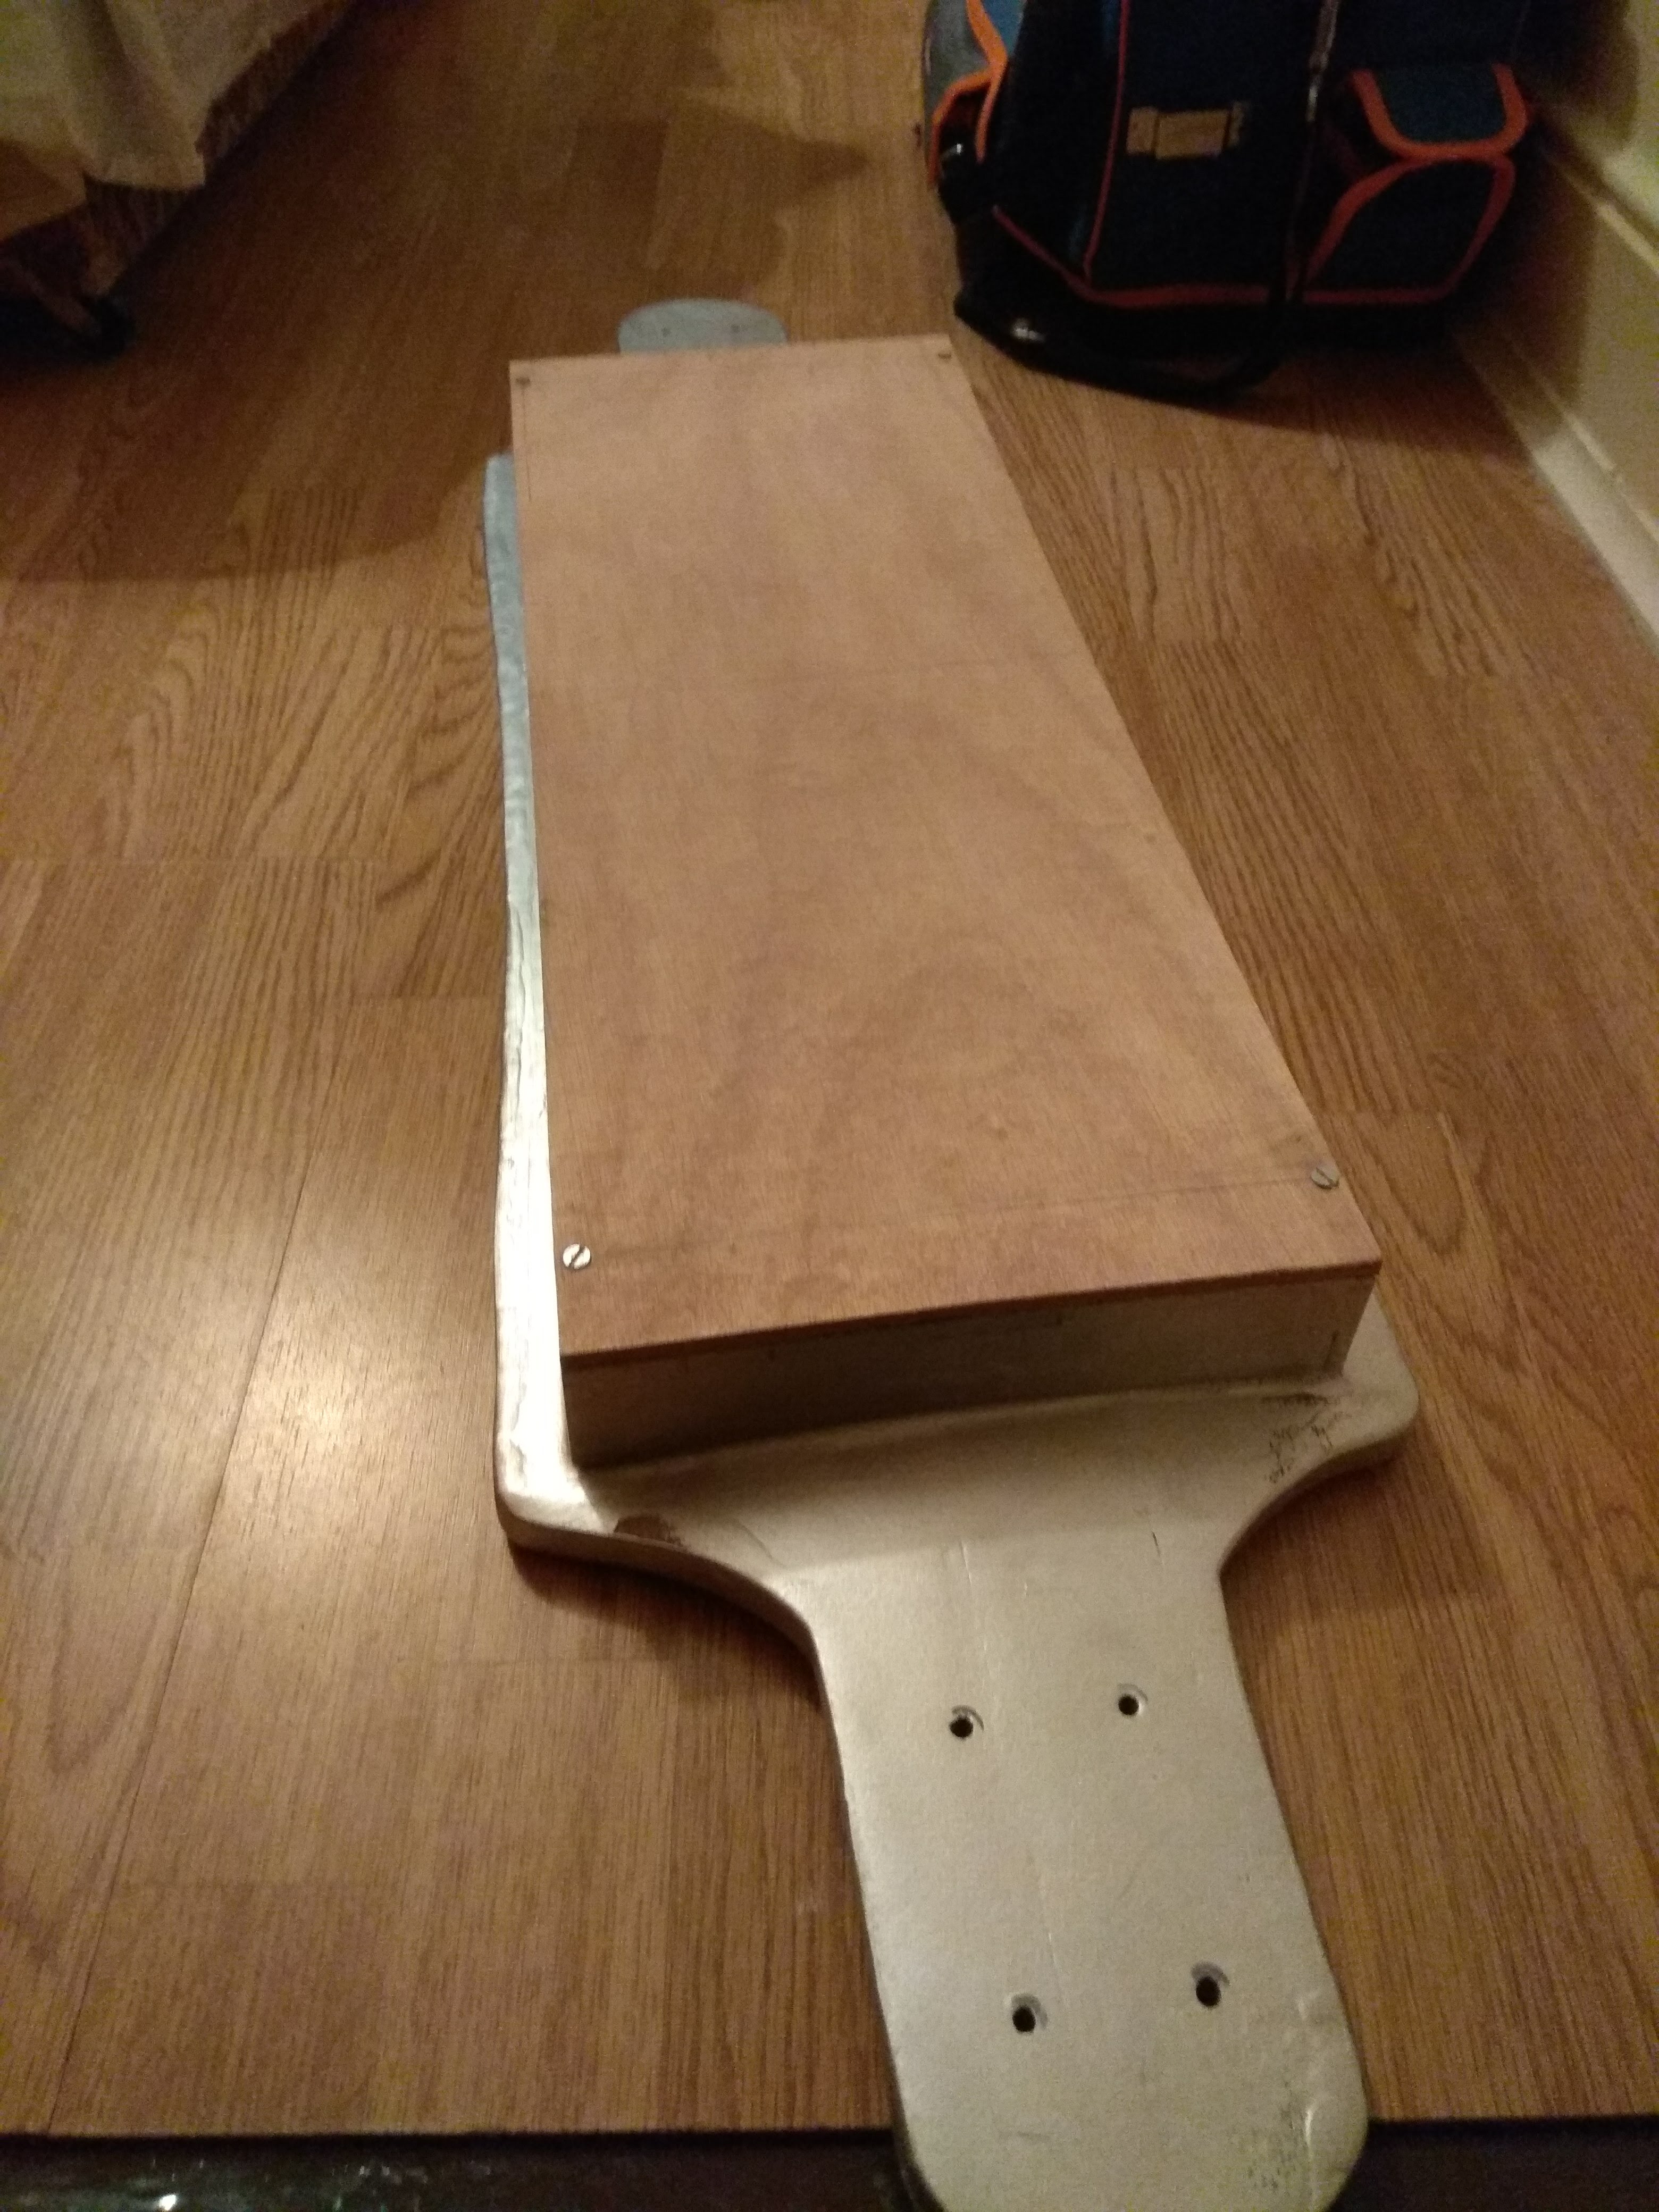
Figure : Side View
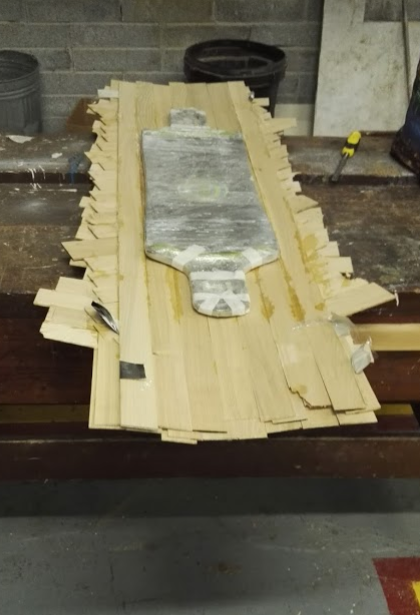
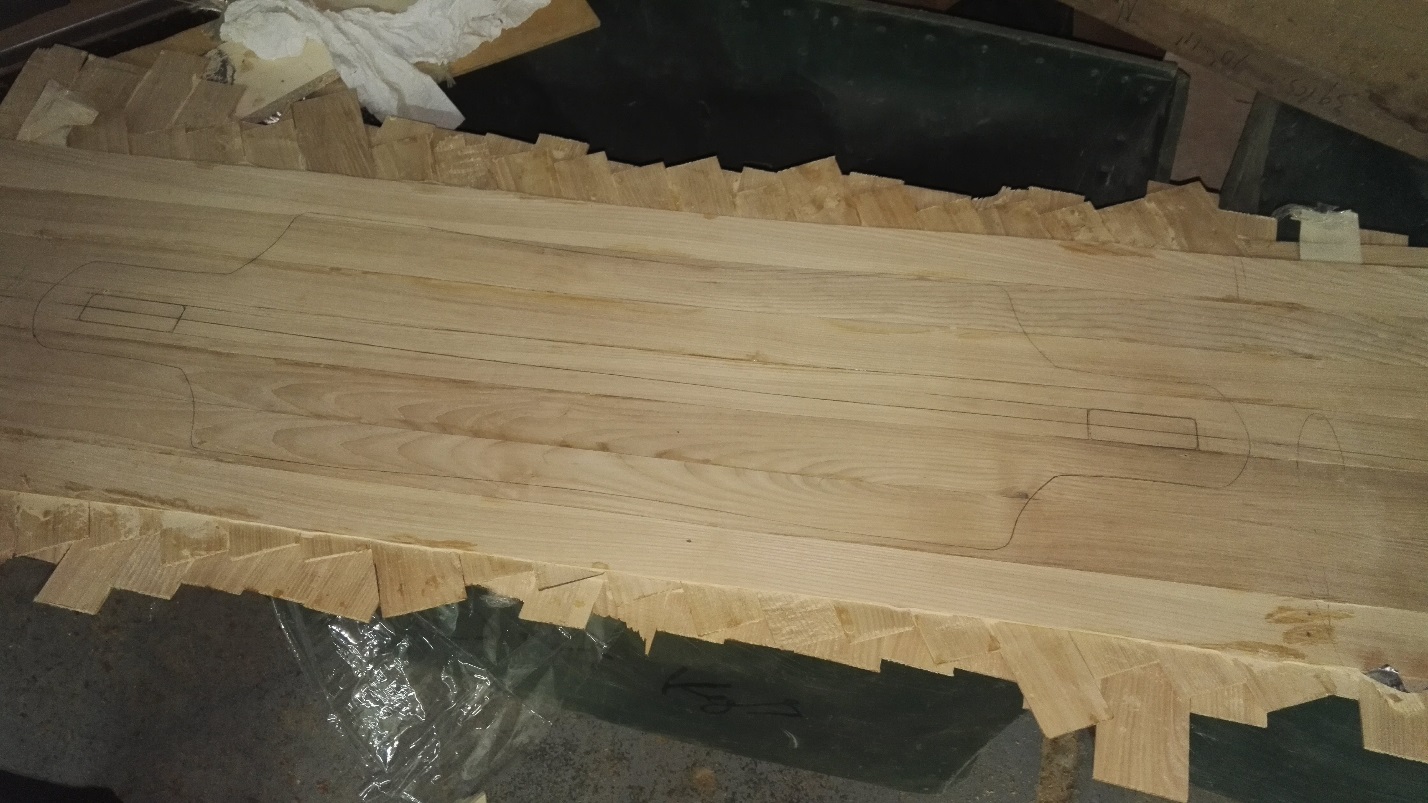
Figure : All glued, the old deck is here to draw the external lines.
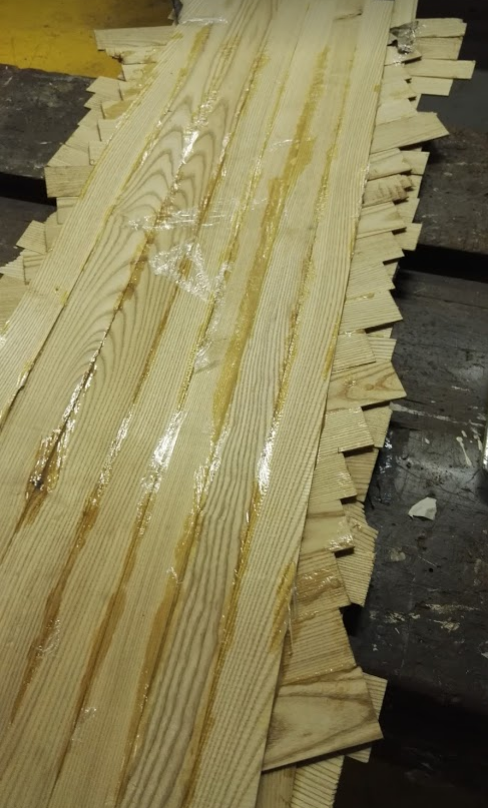
Figure : we can see the curve and the different layers here.
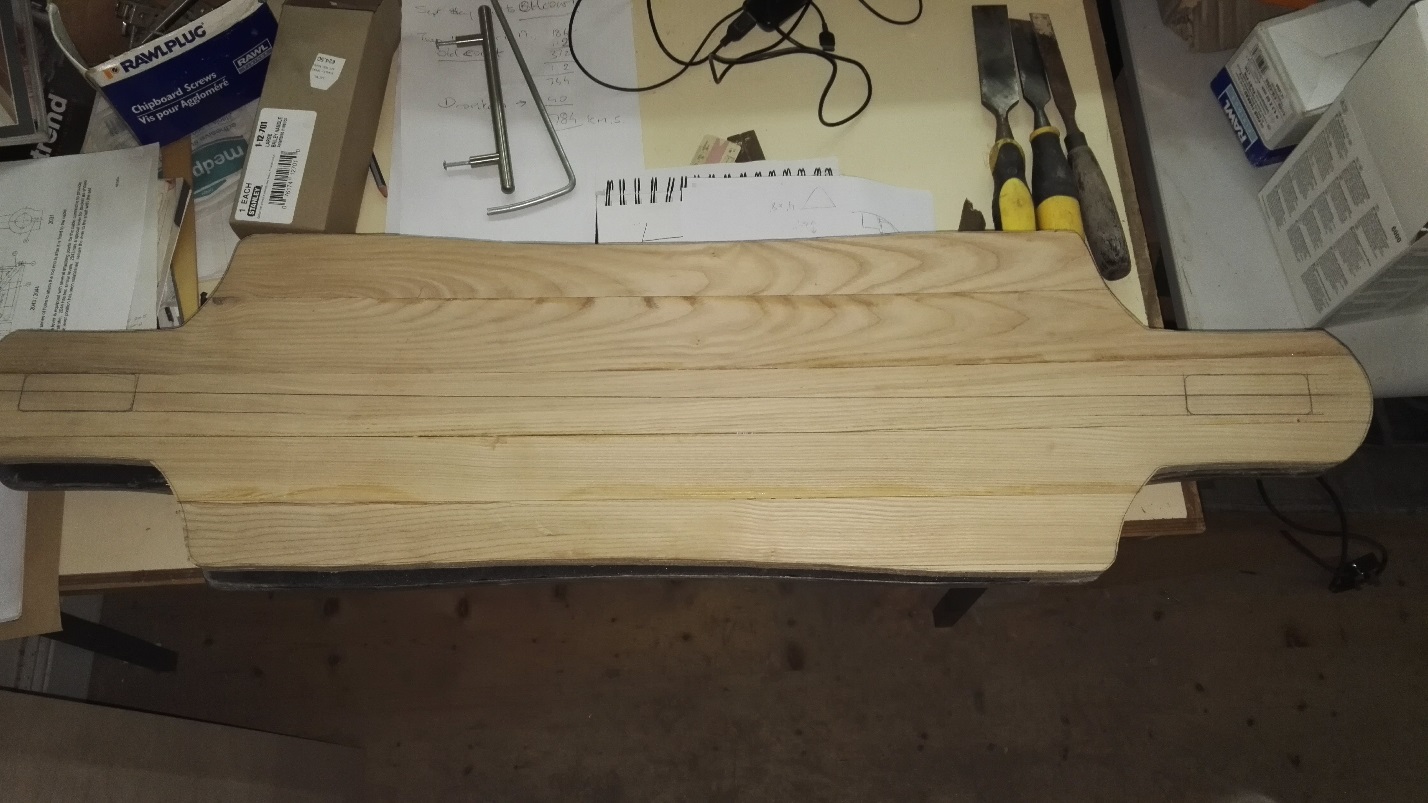
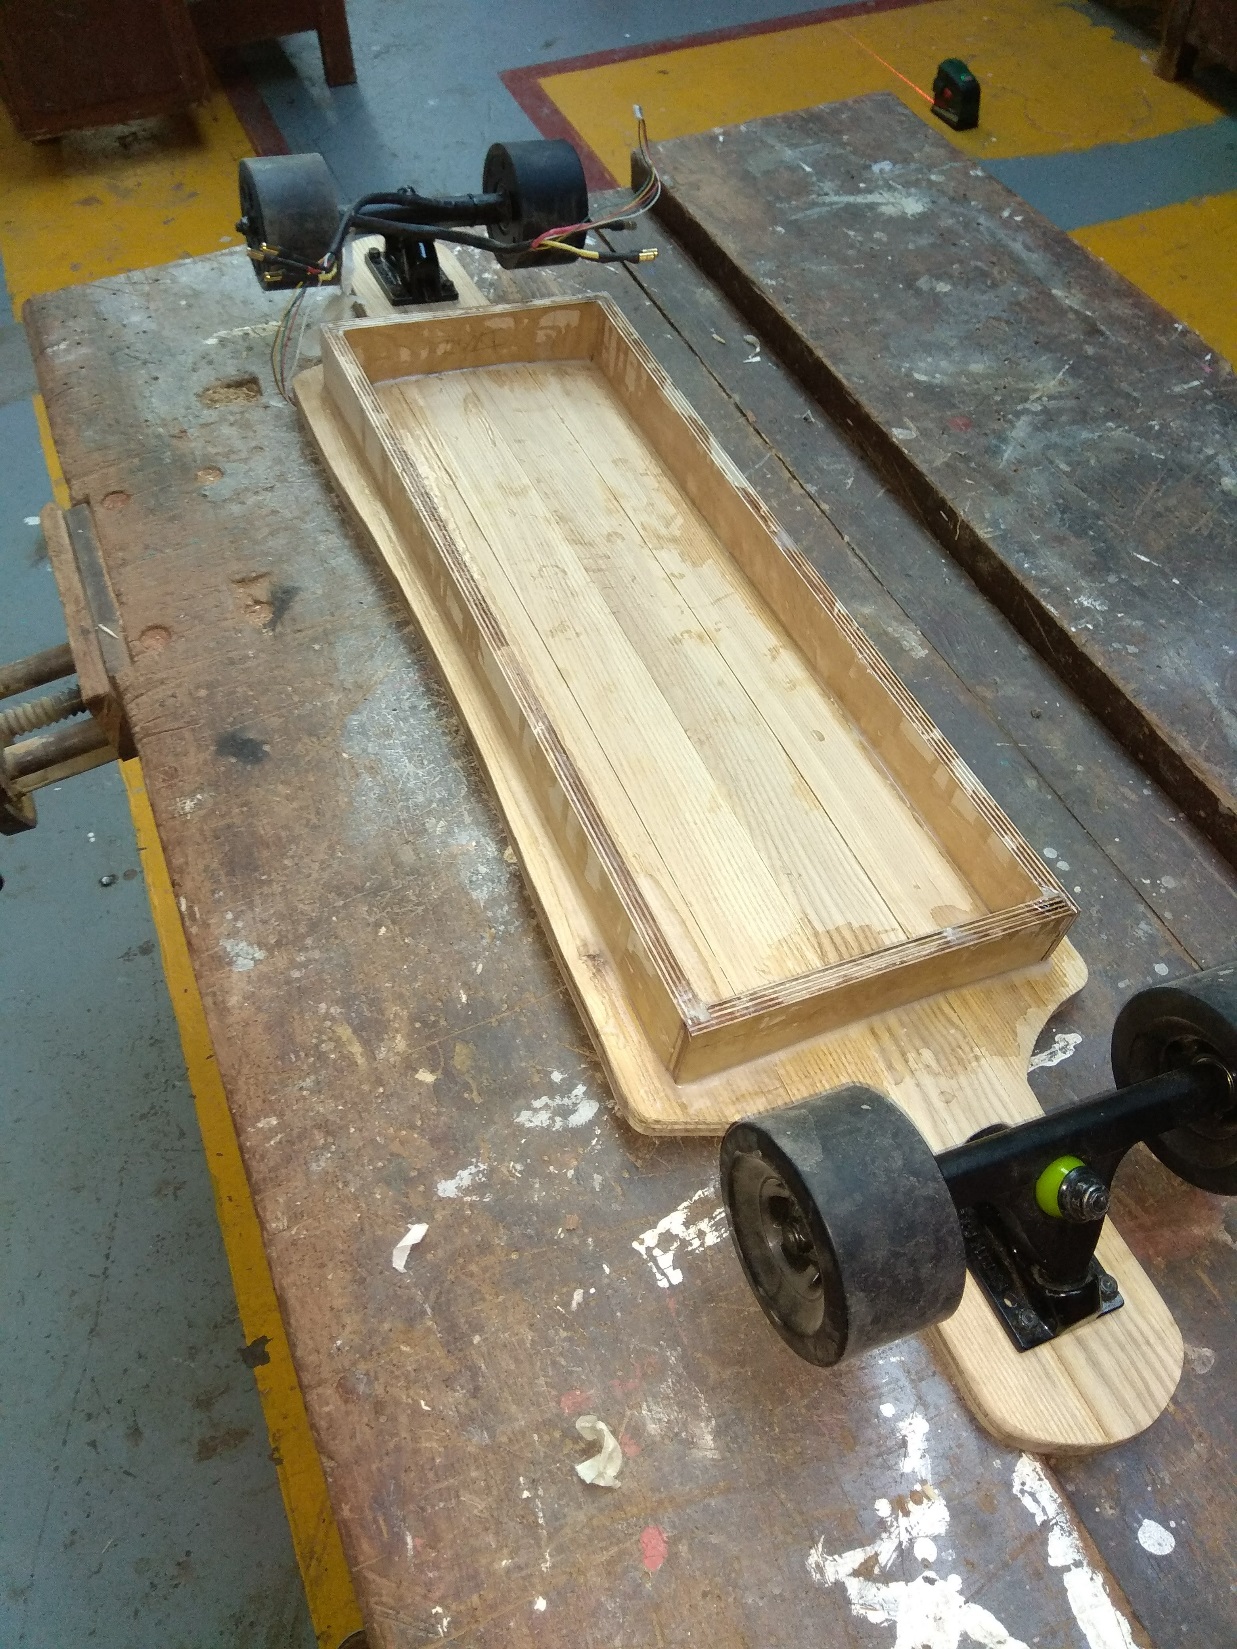
Once it has been dry just had to cut it with a Jig saw, sand it, clean it, glue 4 pieces of wood at the back and mount the trucks.
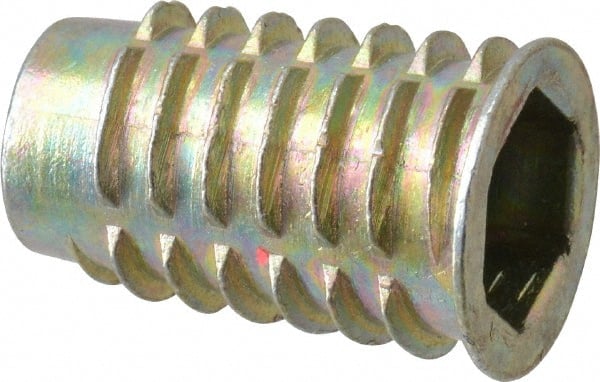
For the lid I used a marine-graded plywood 6mm, thin enough to bend but not to break. And to fix it to the box I installed some insert to avoid destroying the wood with wood screw.
I also decided to paint the longboard with an aluminium primer for three reasons. First the epoxy is UV sensible and even if there are not that much sun in Ireland I still want to keep it for a long time. Primer was the good type of paint to use and I only had the aluminium color. The last reason was to make it looks like the silver surfer now 🙂
At that time we are in April, time to start the electronics otherwise I won’t ride before the next summer.
The electronics
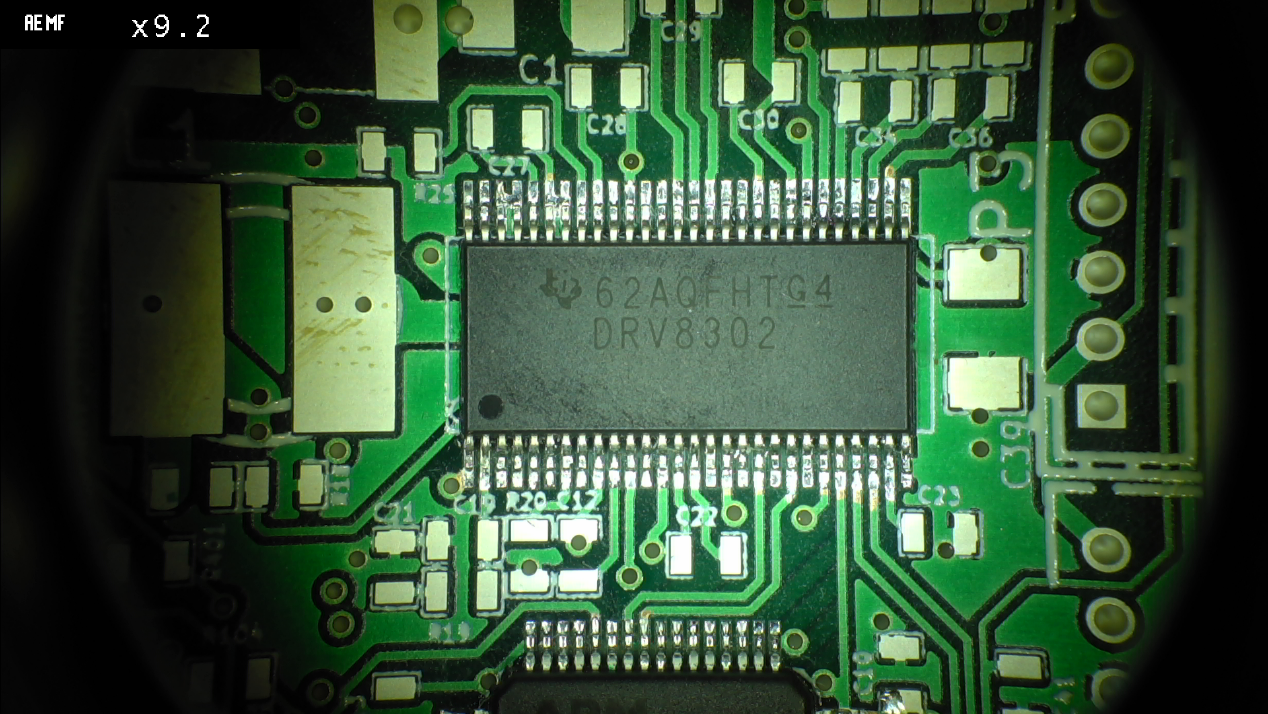
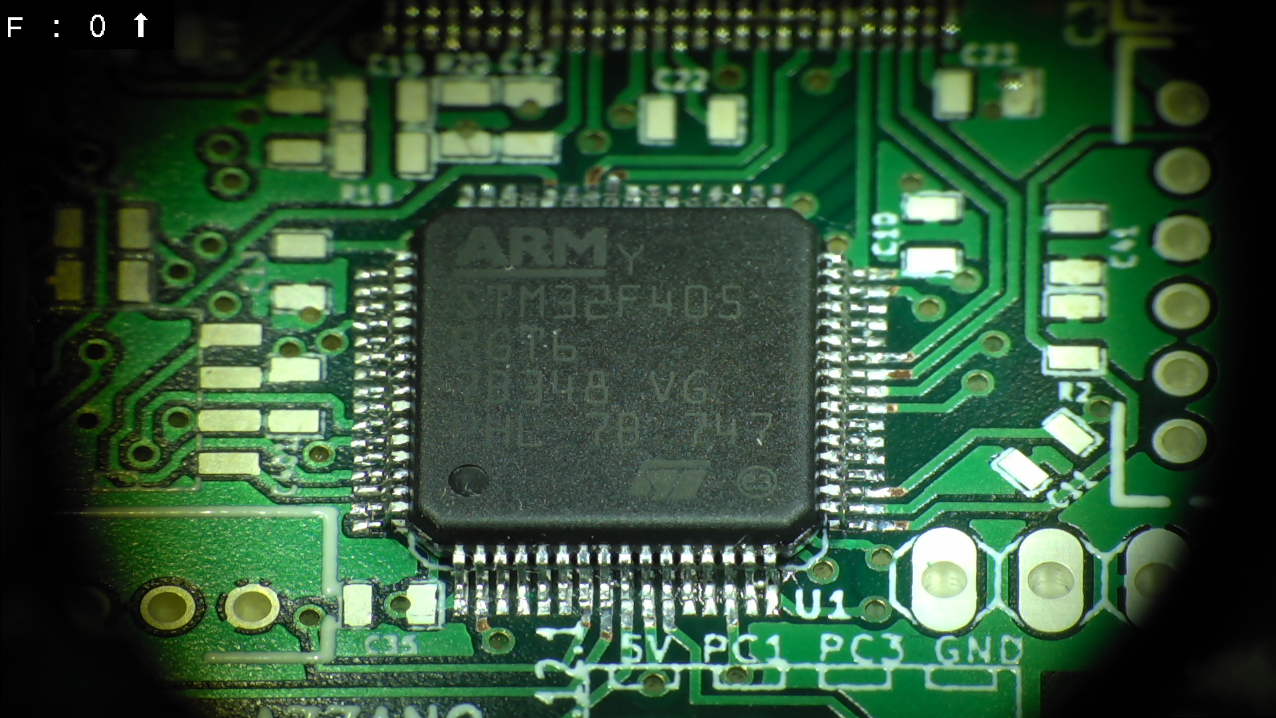
Thankfully an open source project was already famous. The project VESC by Benjamin Vedder will fit perfectly for my needs.
I used the last fully released version (4.12) after modifying the layout to have a square version of the PCB and 2 extra GPIO. The PCB has been made by Cirly, my previous company. (Thanks a million to them !)
Link to the VESC project : http://vedder.se/2015/01/vesc-open-source-esc/
Link to Cirly : http://en.cirly.com/
After few hours of soldering (Thanks to Wojtek for helping me with the processor) I was able to flash the bootloader and the software with a Nucleo board which was taking the dust.
Using the nucleo as a programmer :

I removed the 0Ohms resistor as described here: https://jeelabs.org/book/1547a/

SWD connector doesn’t bring the power for the chip, you can plug the top wire to the jumper PWR near.

I had to flash the file named FW+ BL to see a COM port and then uploading the last firmware from Benjamin’s tool. (Version HW 410 = 411 = 412)

I used the software provided by ST to upload the file.

en.stsw-link004 (1)

VESC_FW_AND_BL_092017 (1)
It was time to try that with the motors:
And to create the pack of batteries : I didn’t have a spot welder then I just soldered the metal tabs.
Pack of batteries
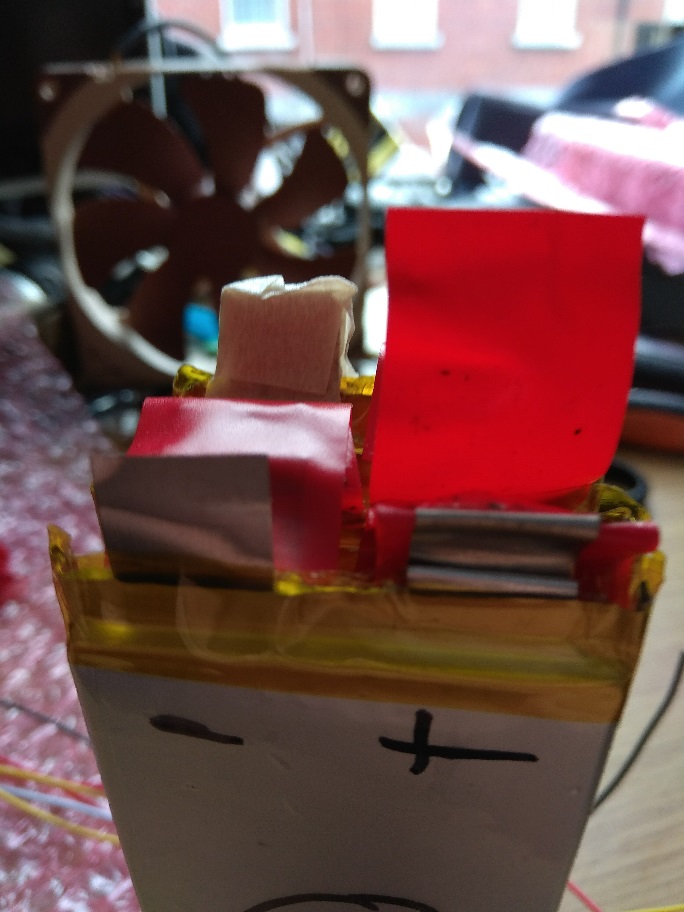
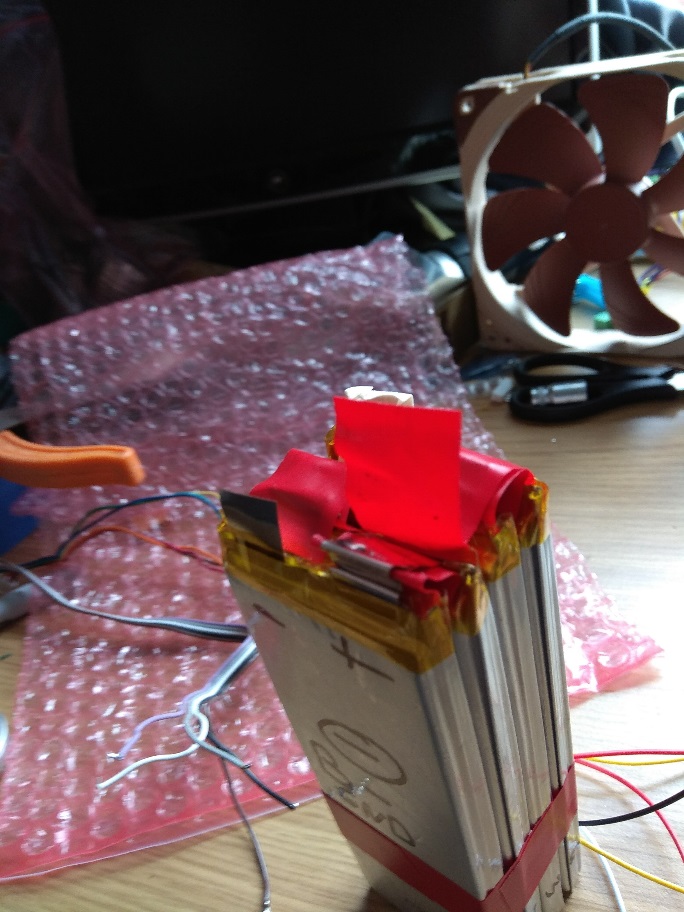
I created two packs of 4 batteries (max thickness) and 1 pack of two batteries (to get 10S).
First I used some foam to keep the electronic safe for the first runs.
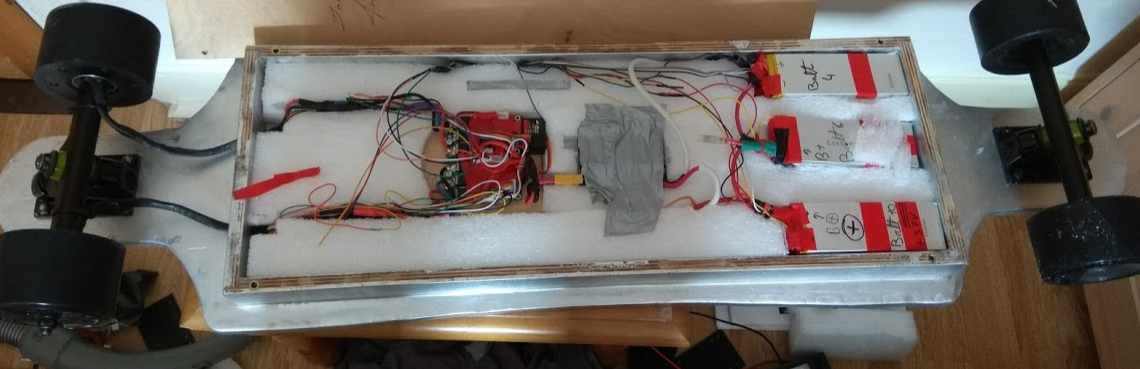
Then I duct tape them (I had some overheating issue, I had to free the space)
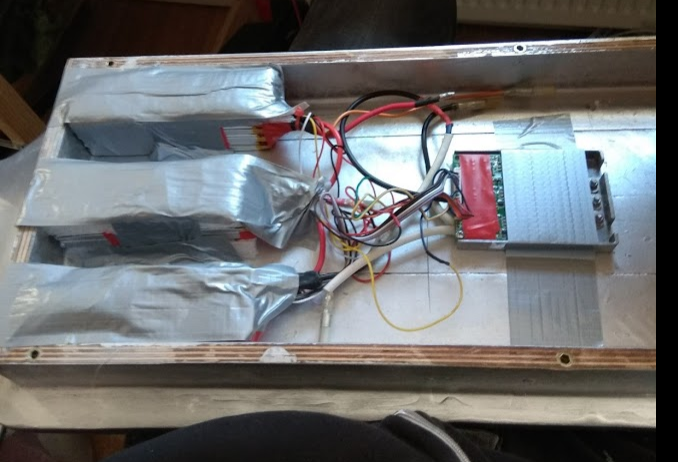
Figure : Batteries + old BMS from an old ebike battery found in the bin
The overheating issue was still there and the duct tape was nasty, I decided to epoxy/screw everything and to do some aluminum heatsink. The MOS are pressed with some thermal paste to 2 layer of aluminum for cooling.
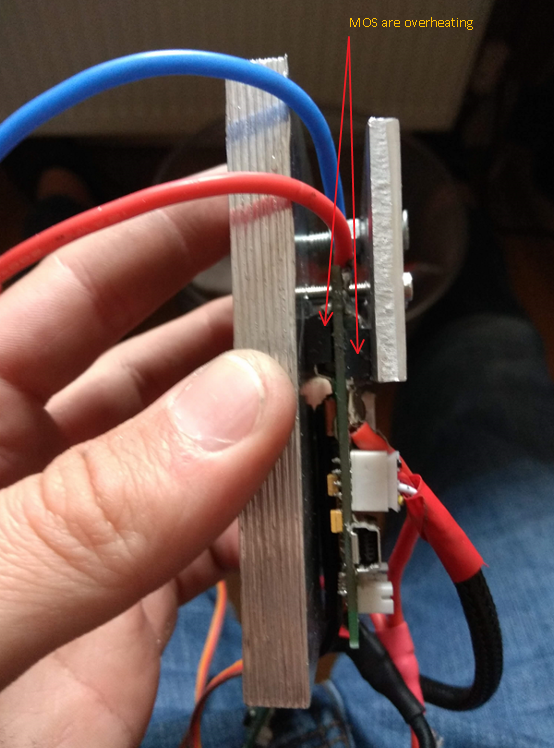
Figure without thermal paste
Other components:
I added a Bluetooth module (hm-10) to monitor the temperature and I’m now able to climb some hills without overheating too much. (Thanks Ackmaniac for his fantastic app)
Link to the thread on esk8: http://www.electric-skateboard.builders/t/vesc-monitor-android-app/20888
Thanks to my old robotic team I got a second version of the BMS from the old ebike batteries which has a integrated switch. (we bought them to the scrapyard 1 year ago).
Thanks to Galileo-CPE Lyon (https://galileo-cpe.net/)
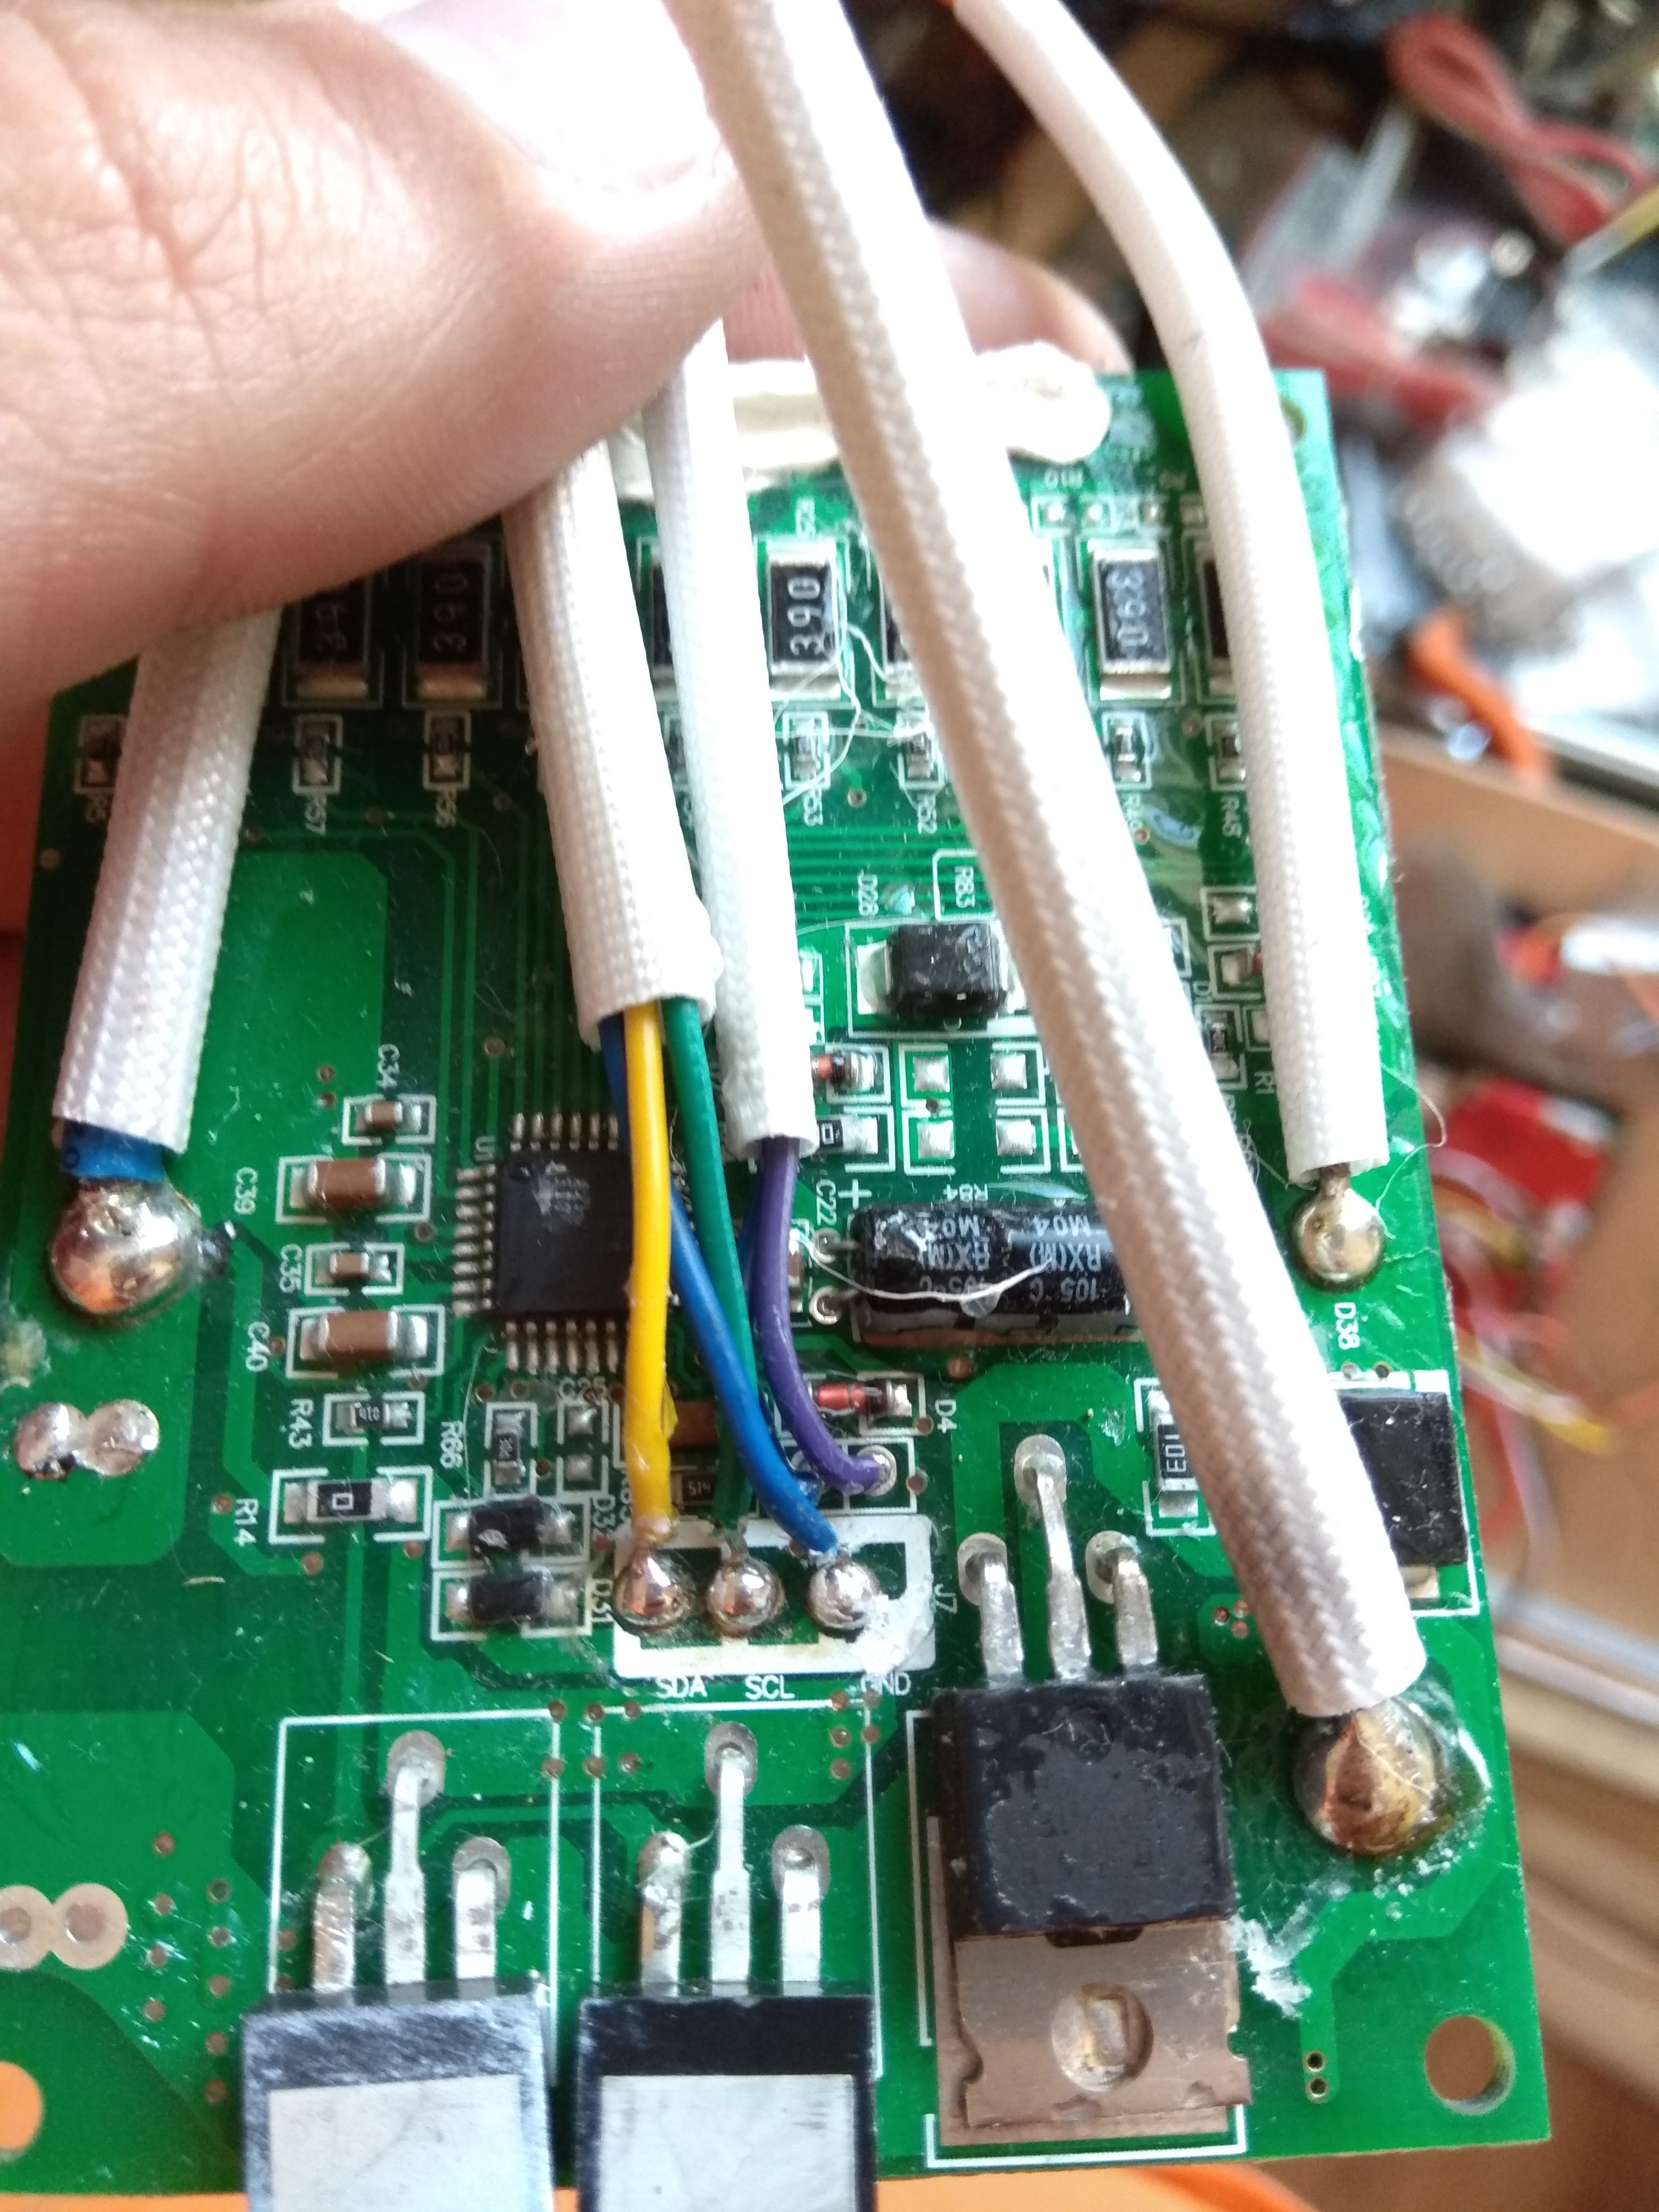
The BMS is based on a OZ8940 with no datasheet available. It looks like there is a i2c communication but the manufacturers doesn’t want to share the datasheet then I will wait for more free time before reverse engineering it. It is still working as it is and it will correctly handle the charge balancing of the cells.
To avoid a spark (High amount of capacitors empty) I also have a second switch button to connect the power with few kOhms resistors. these resistor will allow a small amount of current, pre-load the capacitors and avoid the spark.
Now the board is fully working, after few try I decided to add some grip tape on the top, the rain make it slippy.
The next steps will be to buy a charger, for now I use CC/CV Lab PSU which are not easy to carry. Also a new remote system with a nice screen to merge the BT connection and the old remote is on its way.
Maximum speed limited at 40km/h, if you want more you will need to tight more the kingpin and you will turn wider.
Range : Estimated 14km never been more than 10km on a single charge.
Super reportage sur la genèse de ta longboard.
très bien , mais n’est ce pas un peu casse-gueule ?
Au dessus de 35-40km/h ca commence a beaucoup trop vibrer. En dessous c’est tres confortable !